3DeVOK
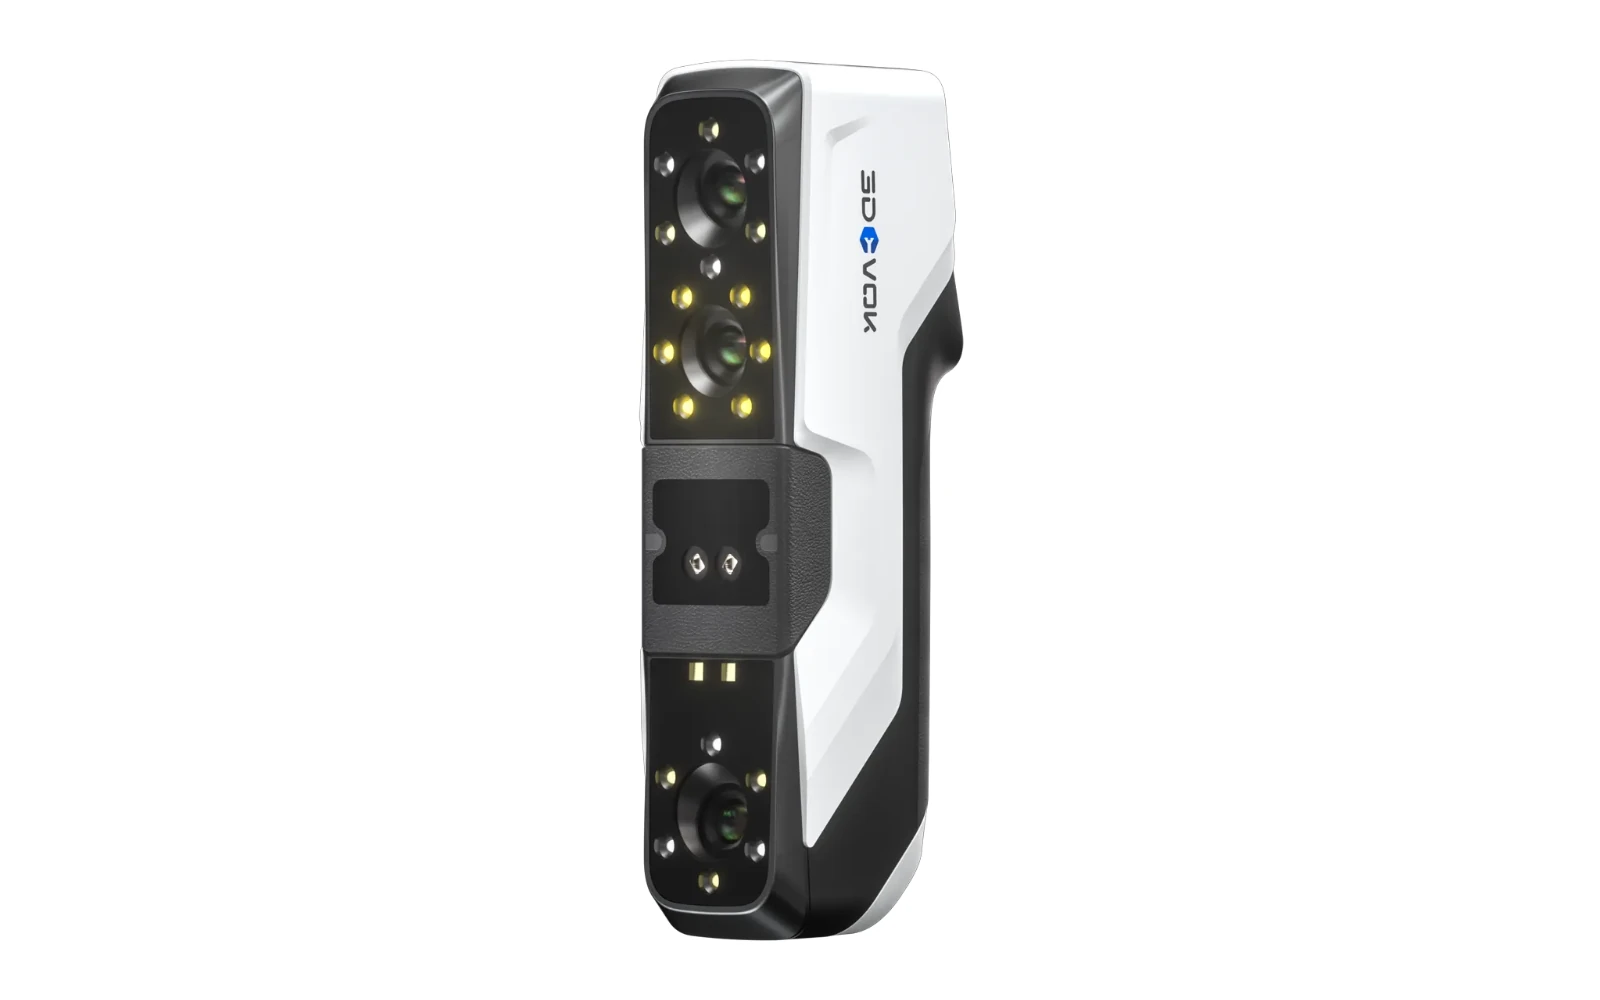
3DeVOK MQ
Shape and colour. In one workflow.
Explore the product ↗3DeVOK / TEXTURE SOFTWARE
Add a convincing colour appearance to geometry.
Book a demonstration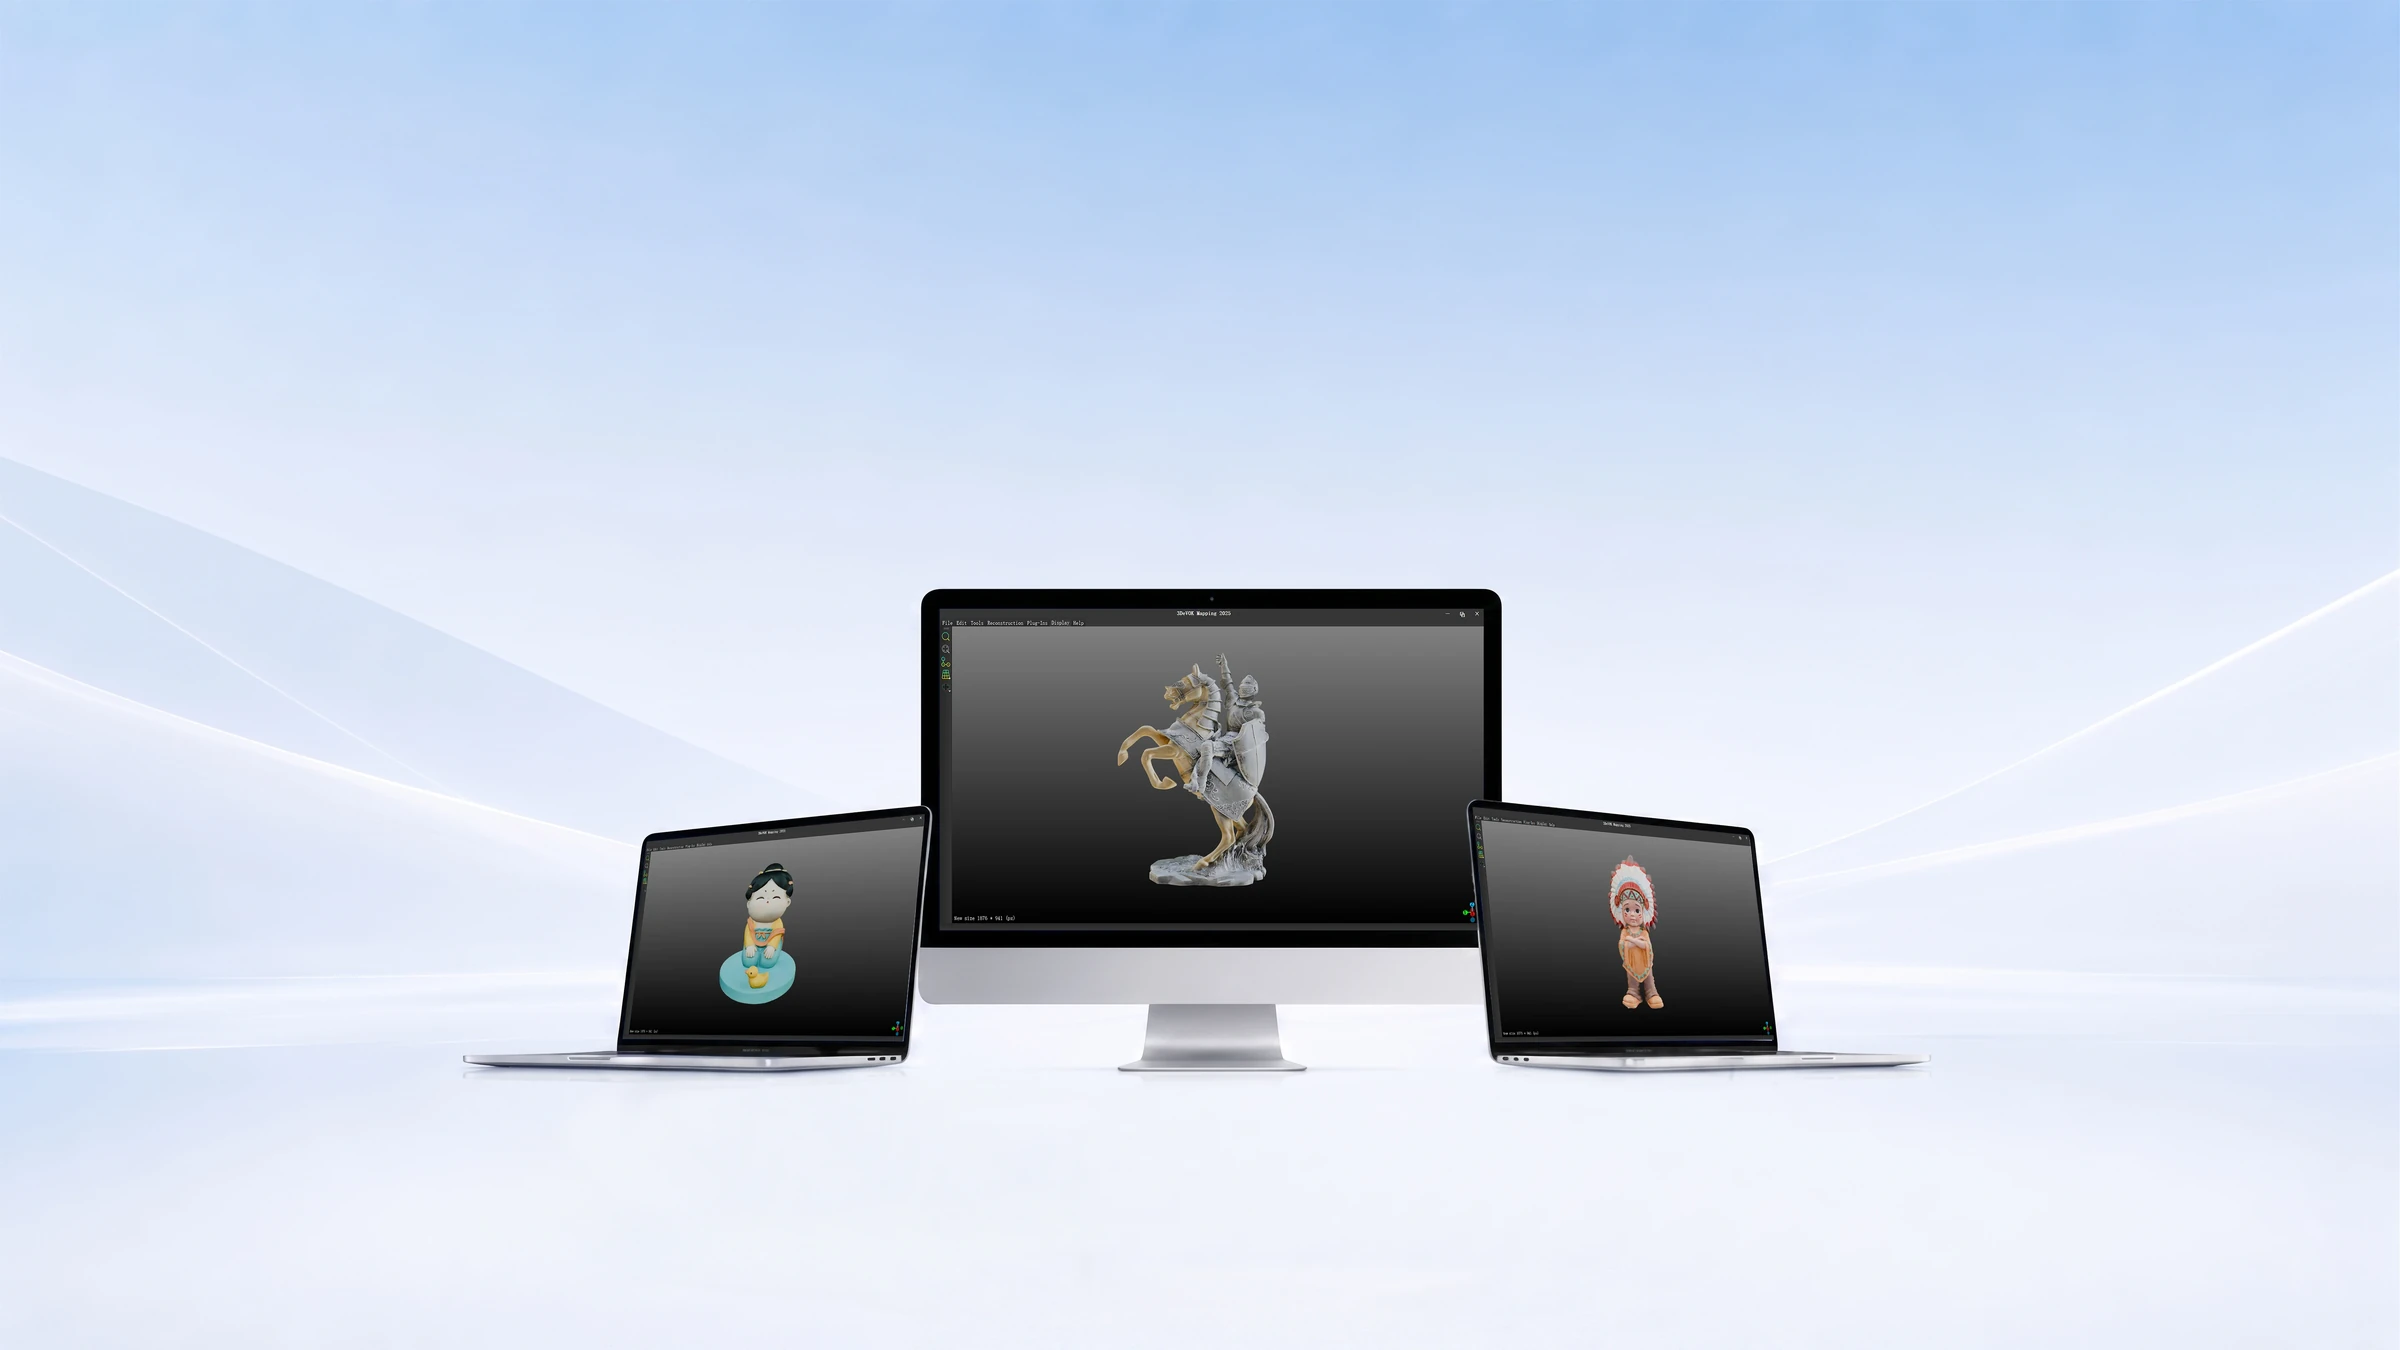
01 / OVERVIEW
Connect a 3D model with photos from several directions. Mapping lets you align photos, create textures and edit their seams.
largest stated texture
aligned to geometry
export for presentation
02 / 01 / INPUT DATA
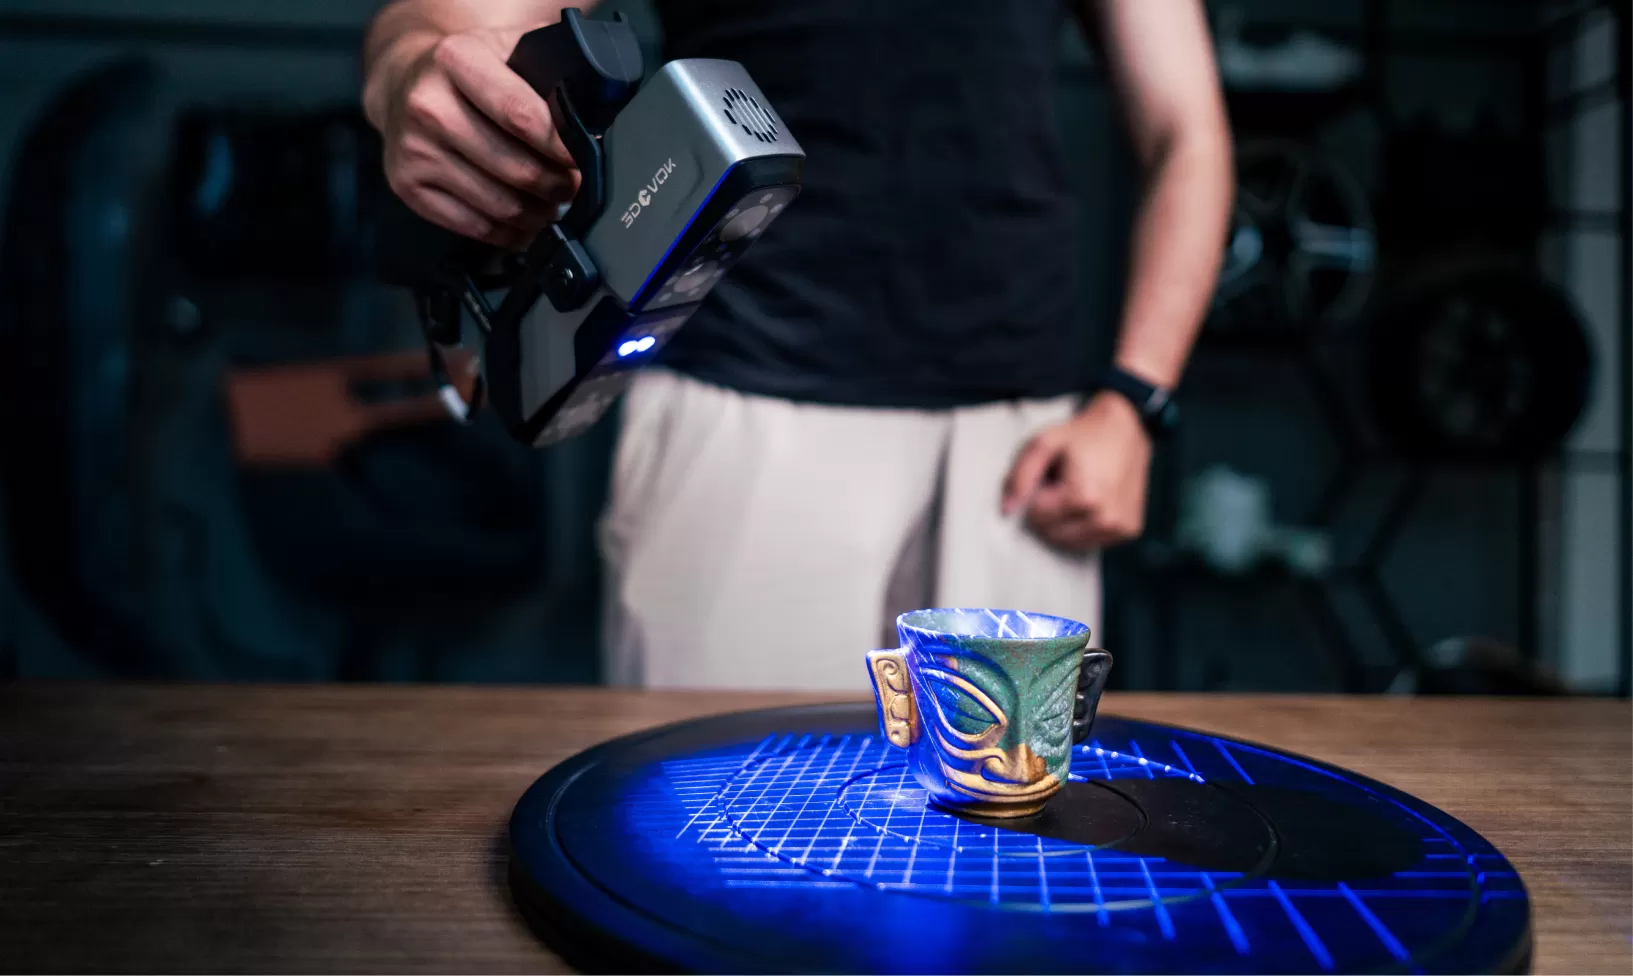
Mapping connects a scanned 3D model with photos from several directions. Good lighting, sharpness and coverage of the object form the basis for a convincing texture.
03 / 02 / PREPARATION
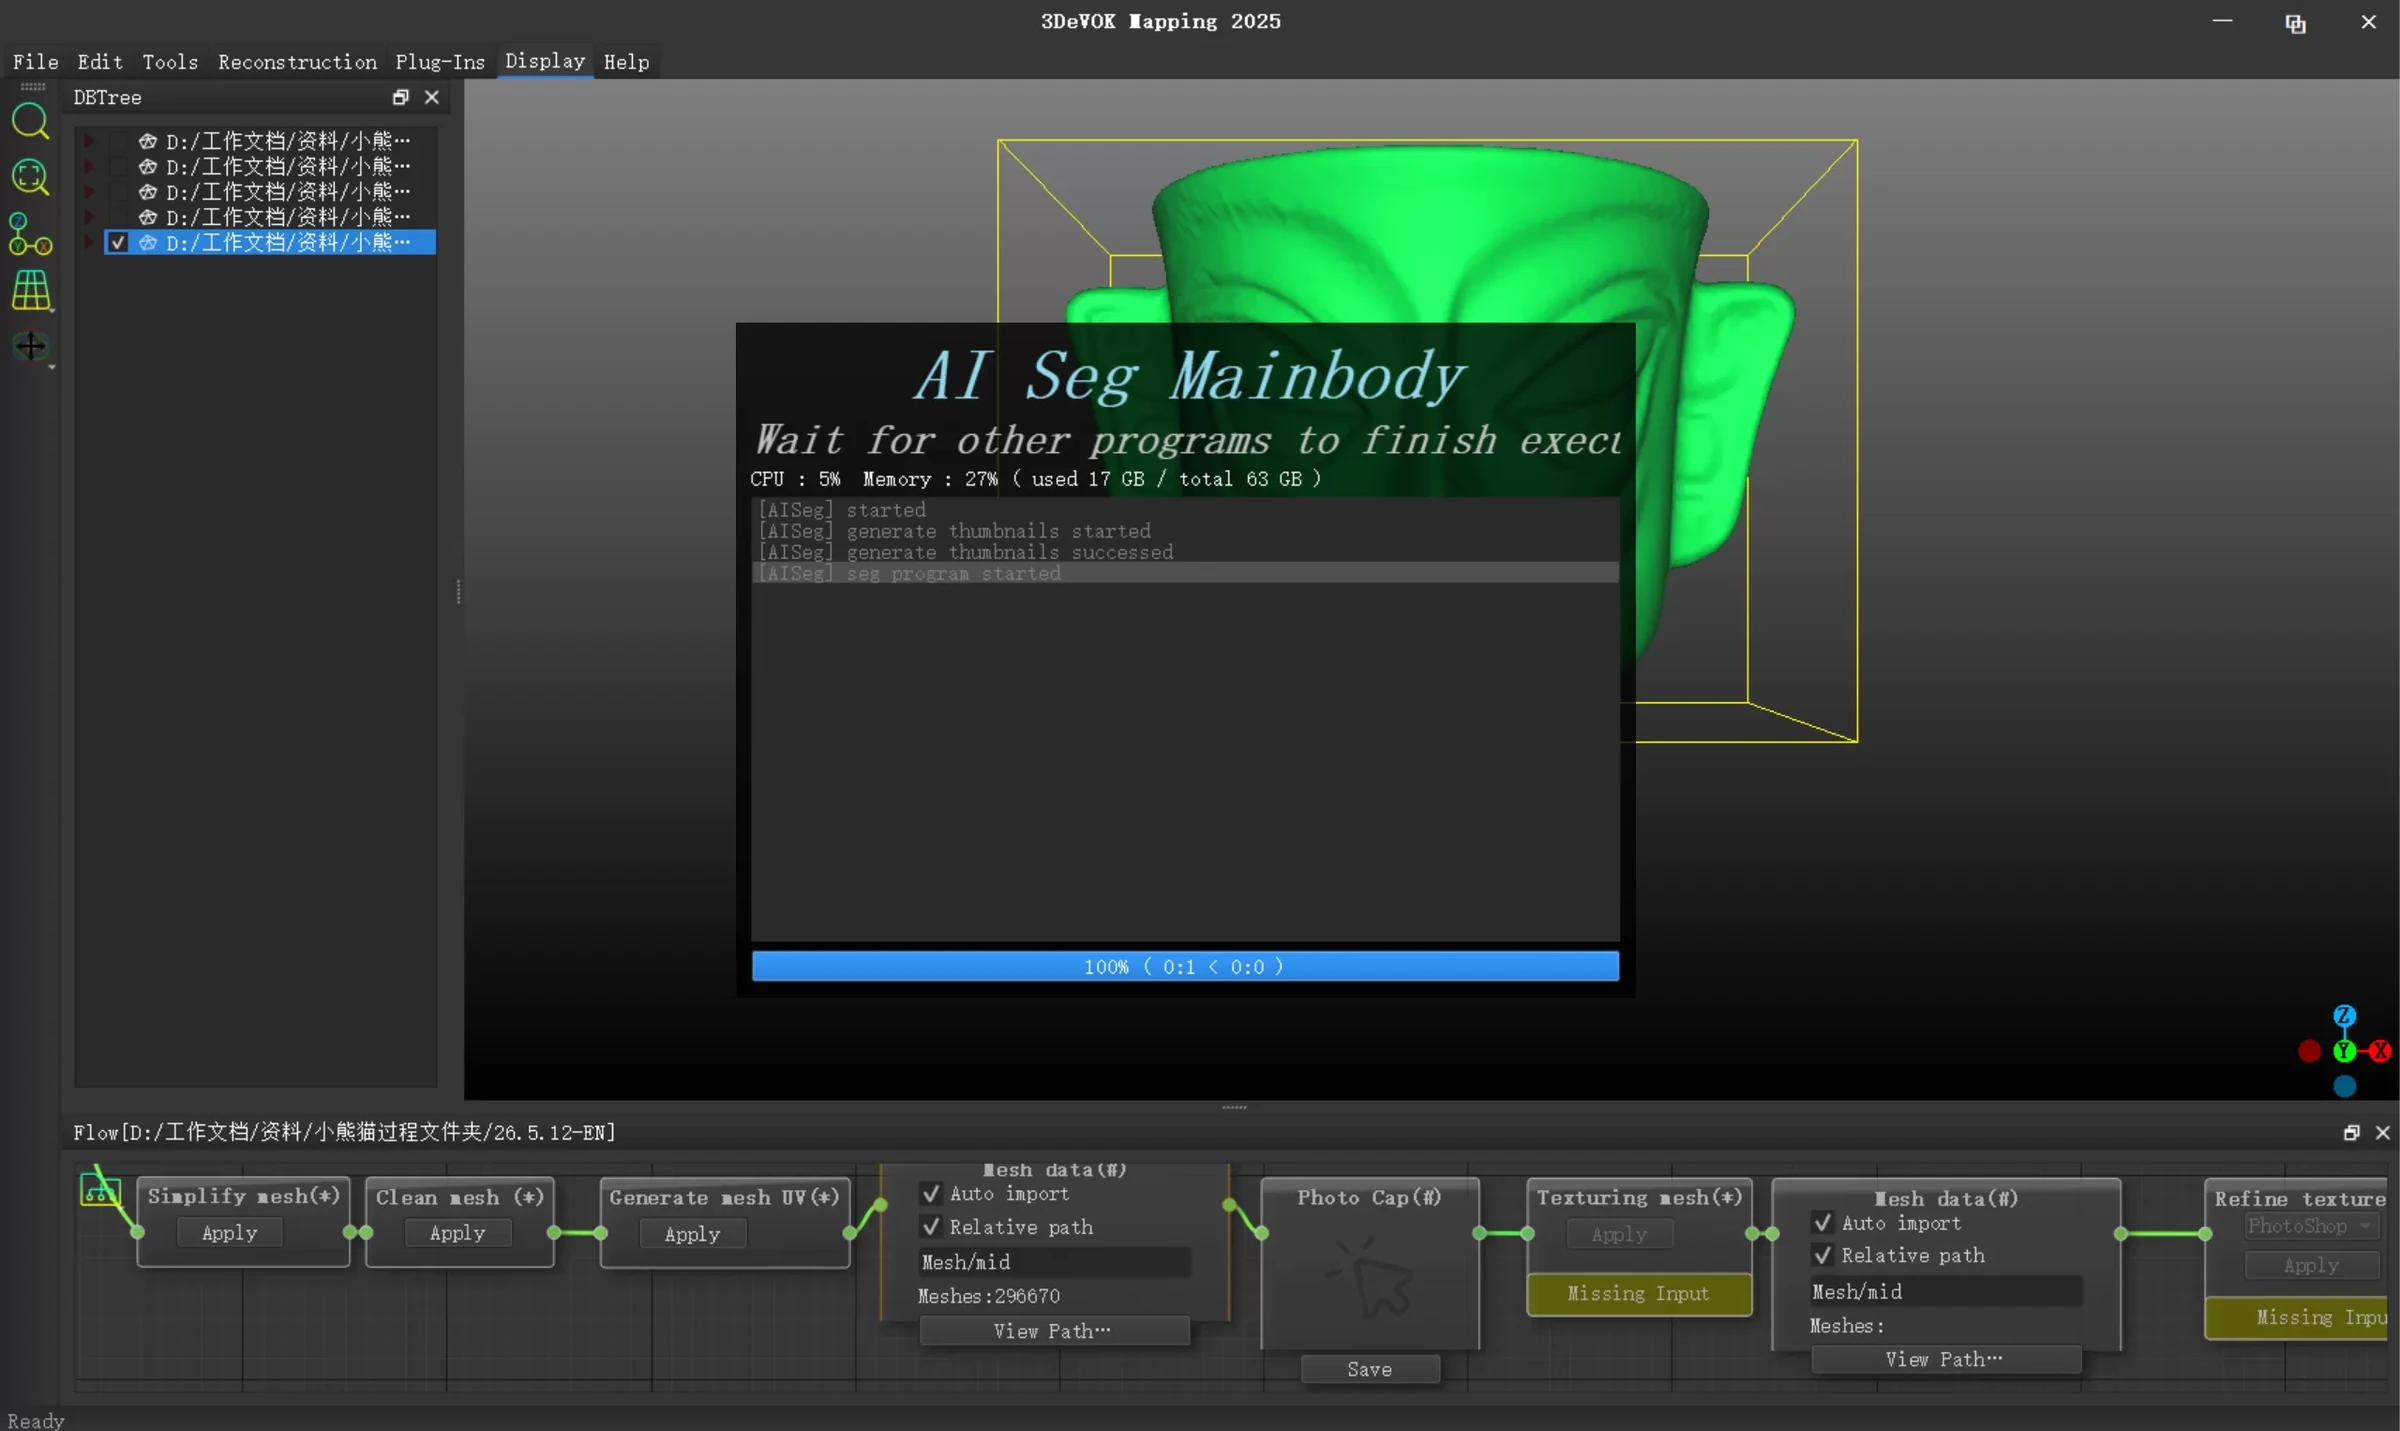
The object recognition tool helps prepare photos for further processing. It reduces the influence of the background when projecting colour onto geometry.
04 / 03 / ALIGNMENT
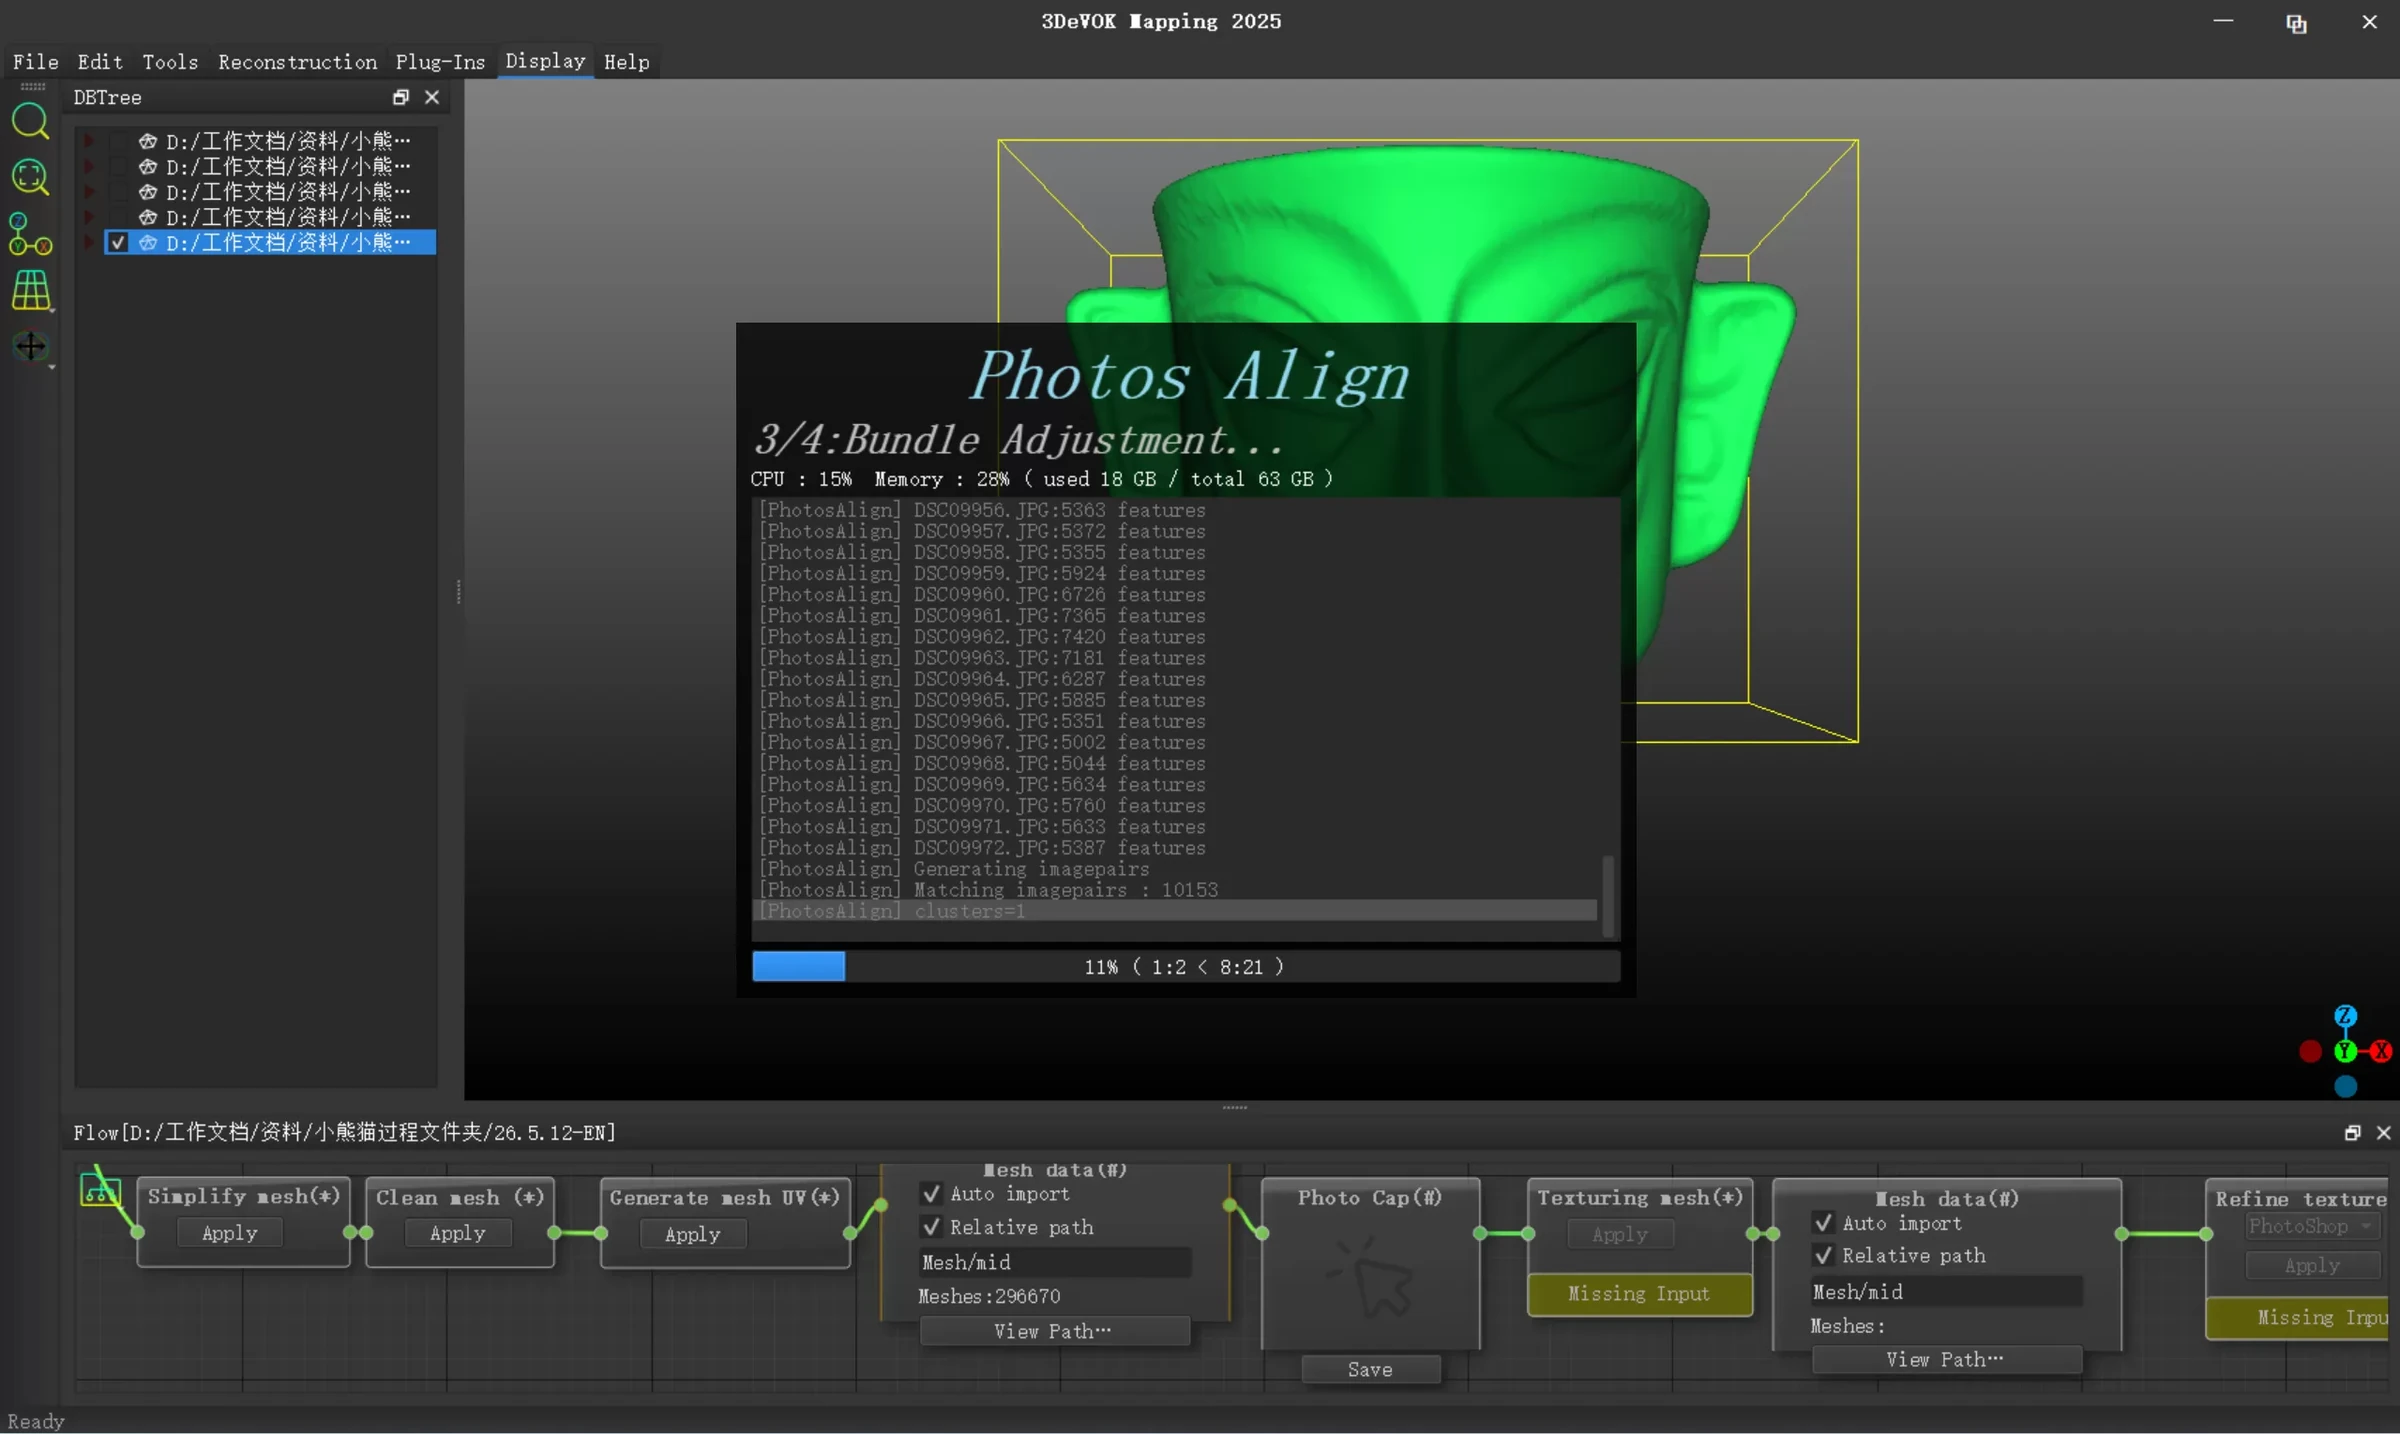
Align the photos with the model so colour data follows its shape. Relative and absolute orientation support editing the link between views and geometry.
05 / 04 / TEXTURE
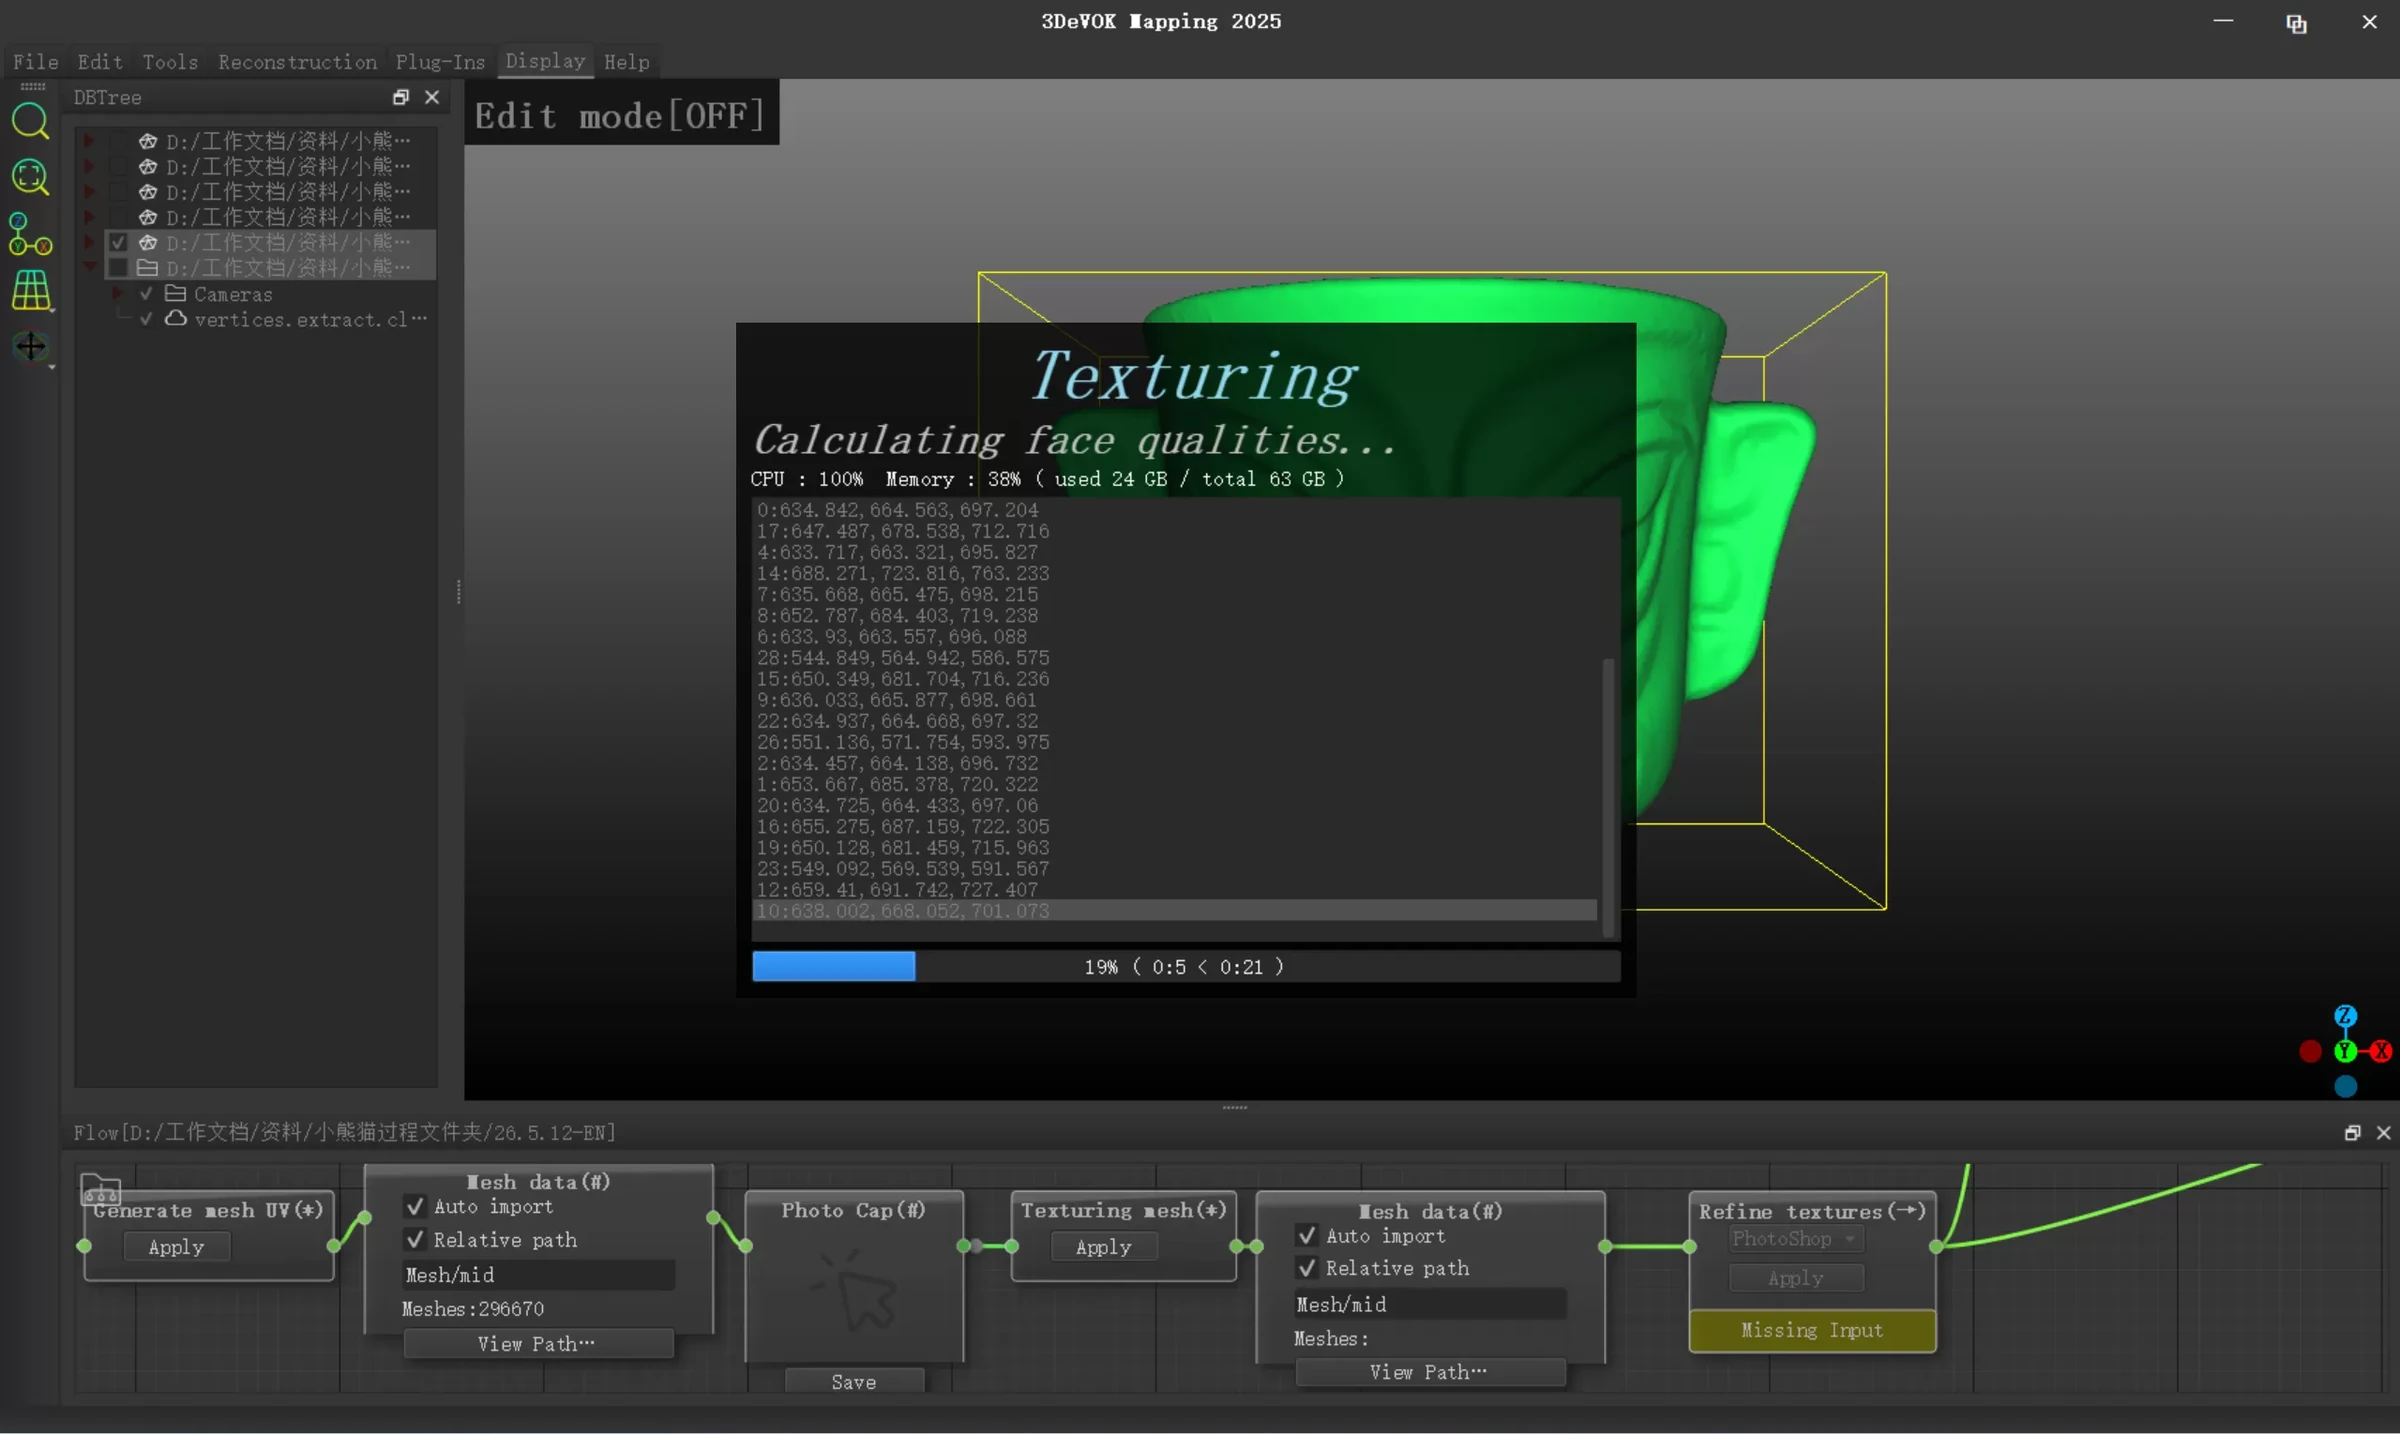
After alignment, create the texture. The software supports resolutions up to 16,384 × 16,384 pixels; the choice depends on the project and computer.
06 / 05 / REFINEMENT
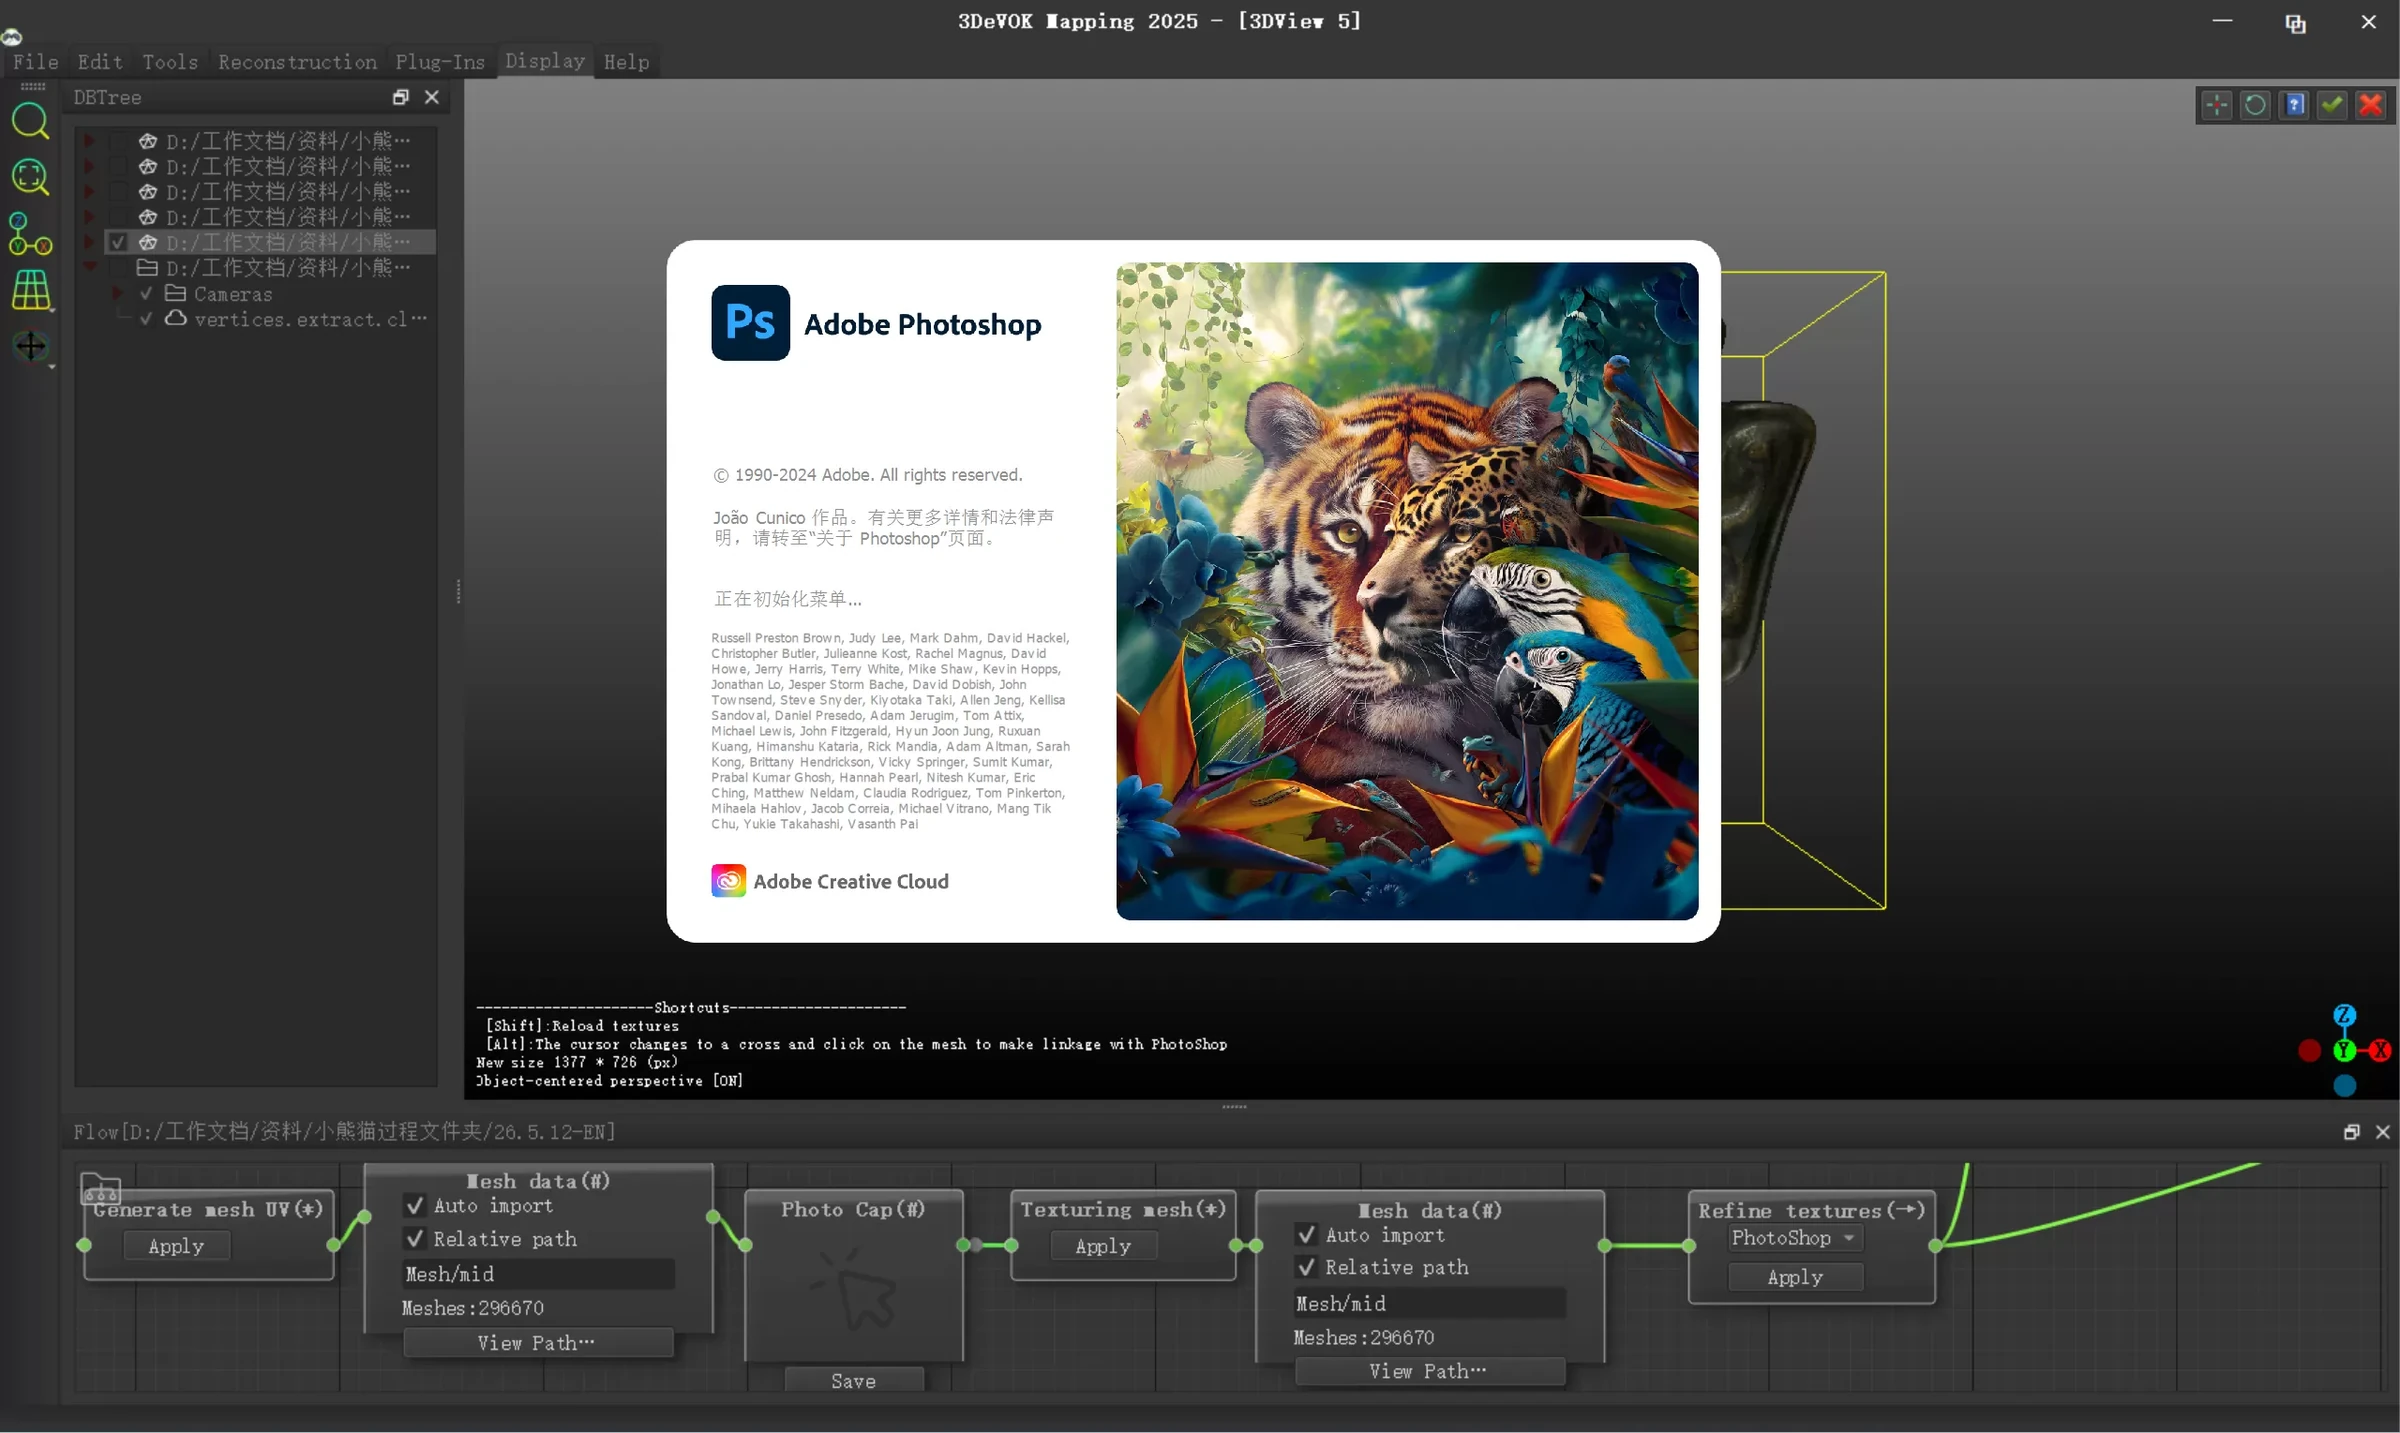
Seam editing and colour balancing improve the model's consistency. You can extend the workflow with external graphics tools if needed.
07 / 06 / PRESENTATION
Use the final colour model for digital collections, art, heritage and education. For colour export, choose a format that supports textures and keep the accompanying files.
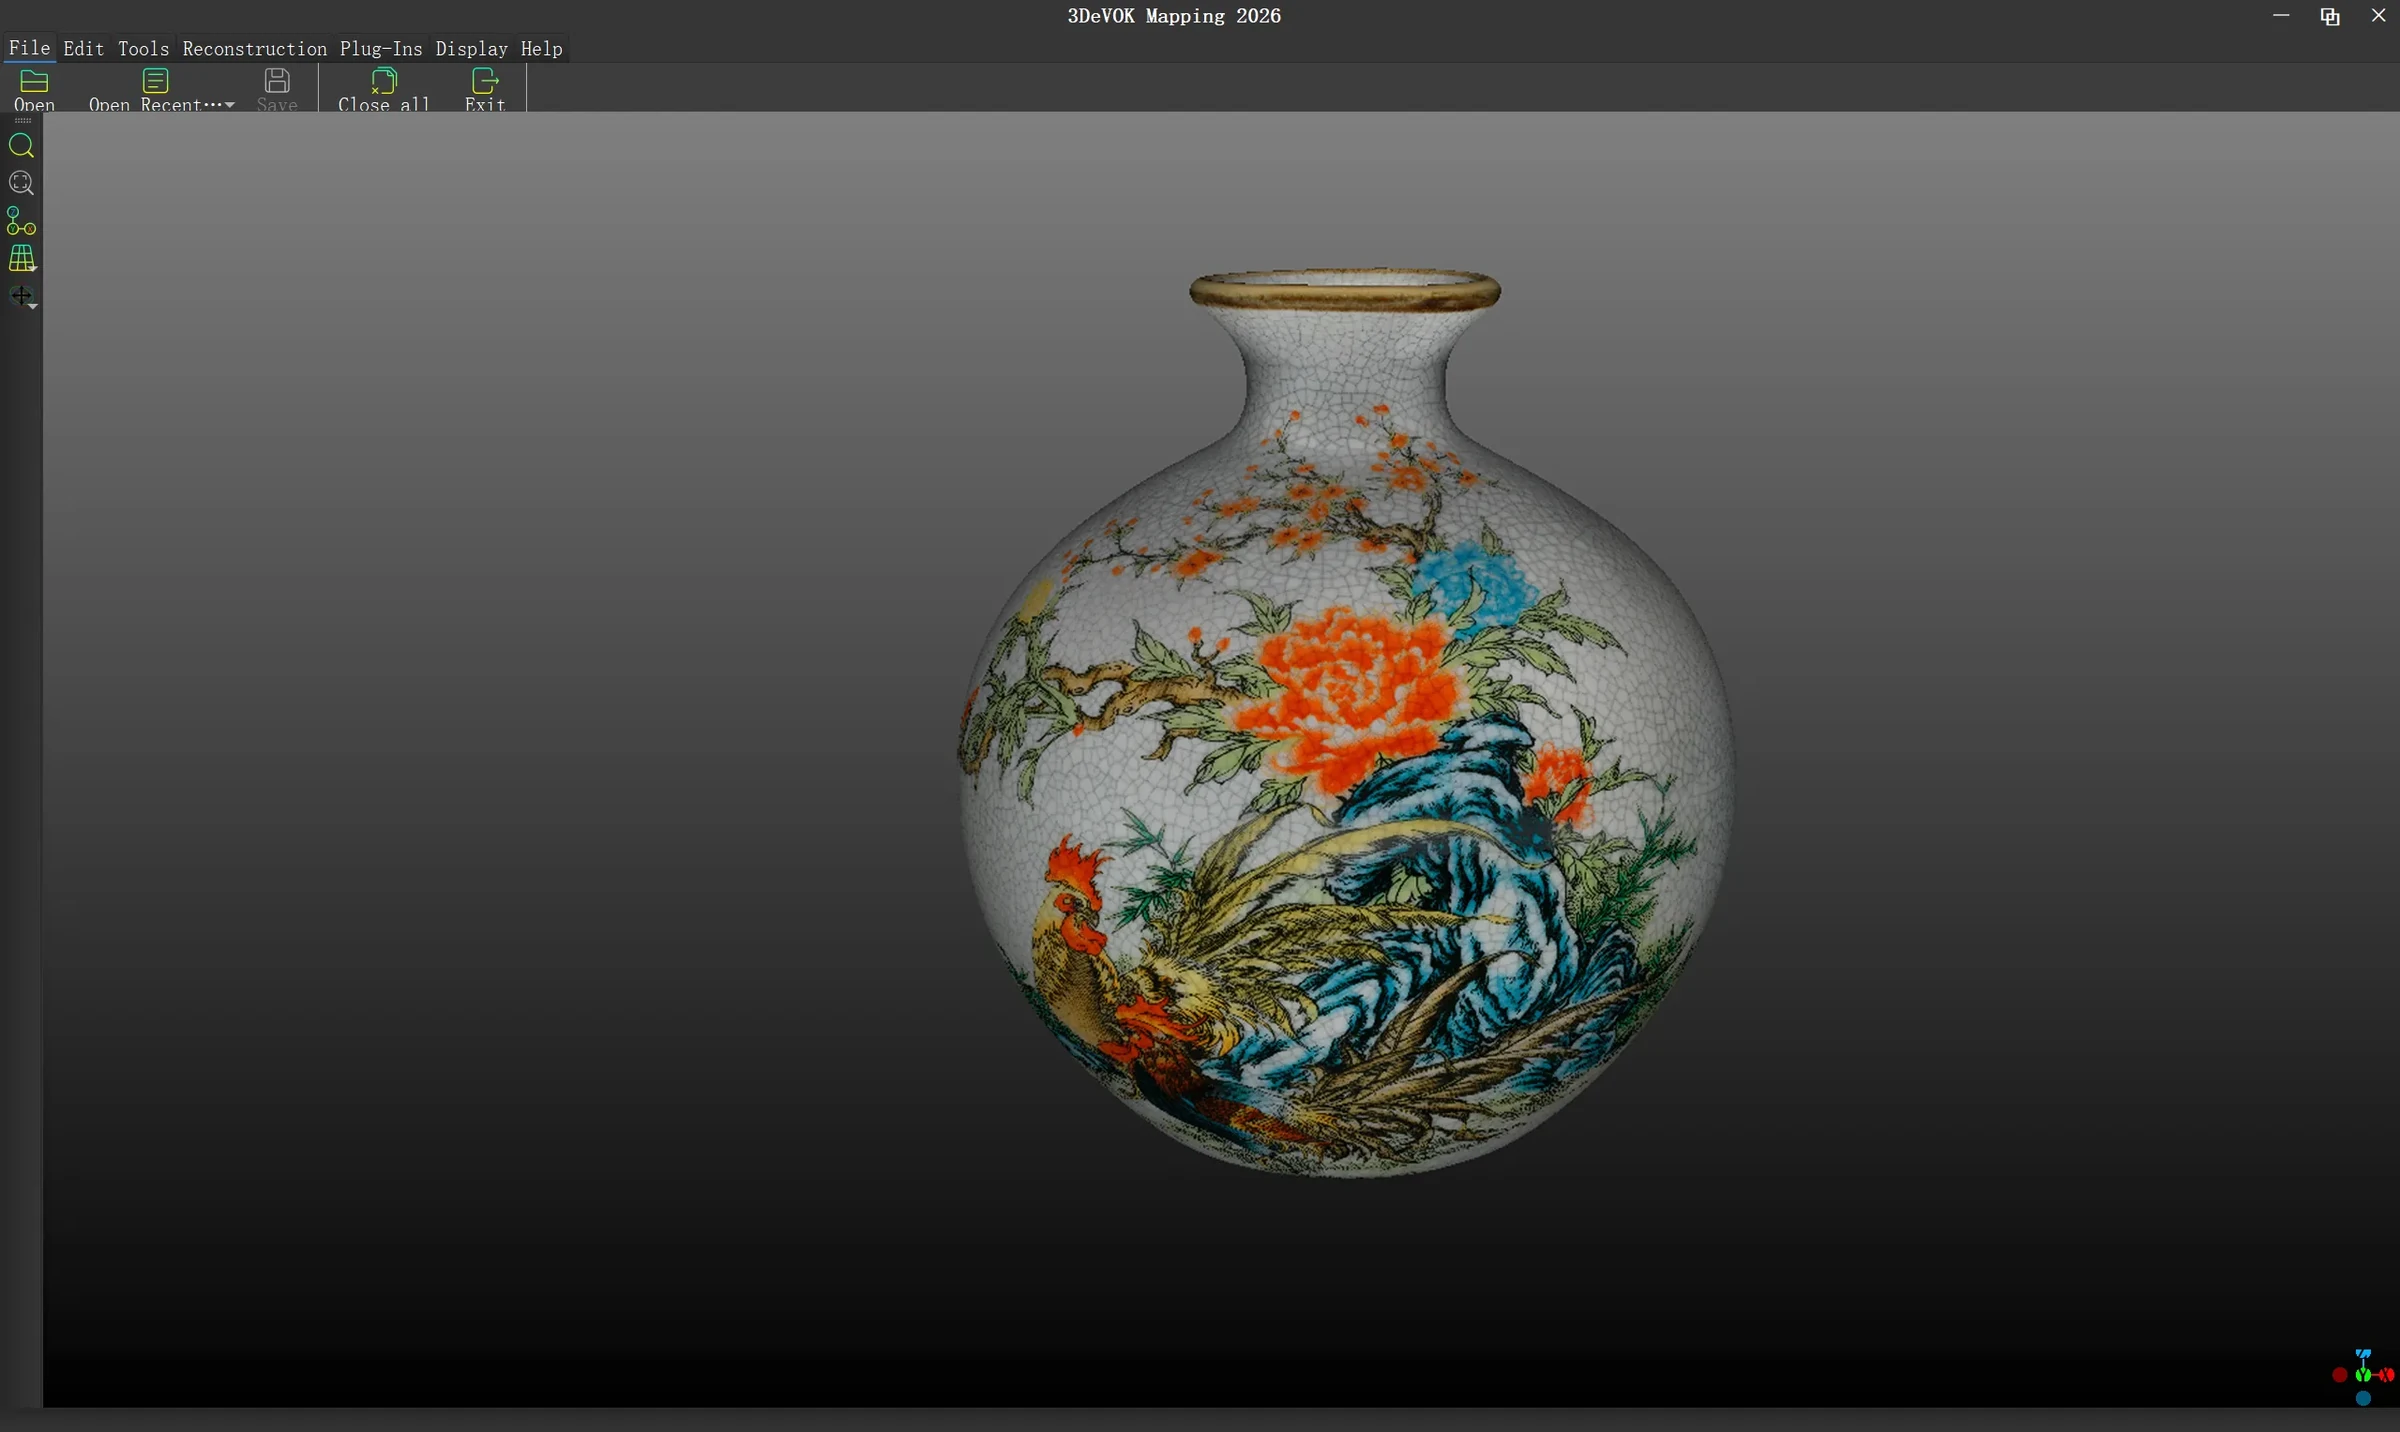
MANUFACTURER VIDEO / YOUTUBE
See the process and features in the official video presentation.
Open video on YouTube08 / TECHNICAL DATA
A selection of key parameters. When choosing, consider object size, required accuracy and working conditions.
Texture resolution, supported formats and tools depend on version and settings. Standard STL does not keep colour texture.
09 / RELATED EQUIPMENT
3DeVOK
Shape and colour. In one workflow.
Explore the product ↗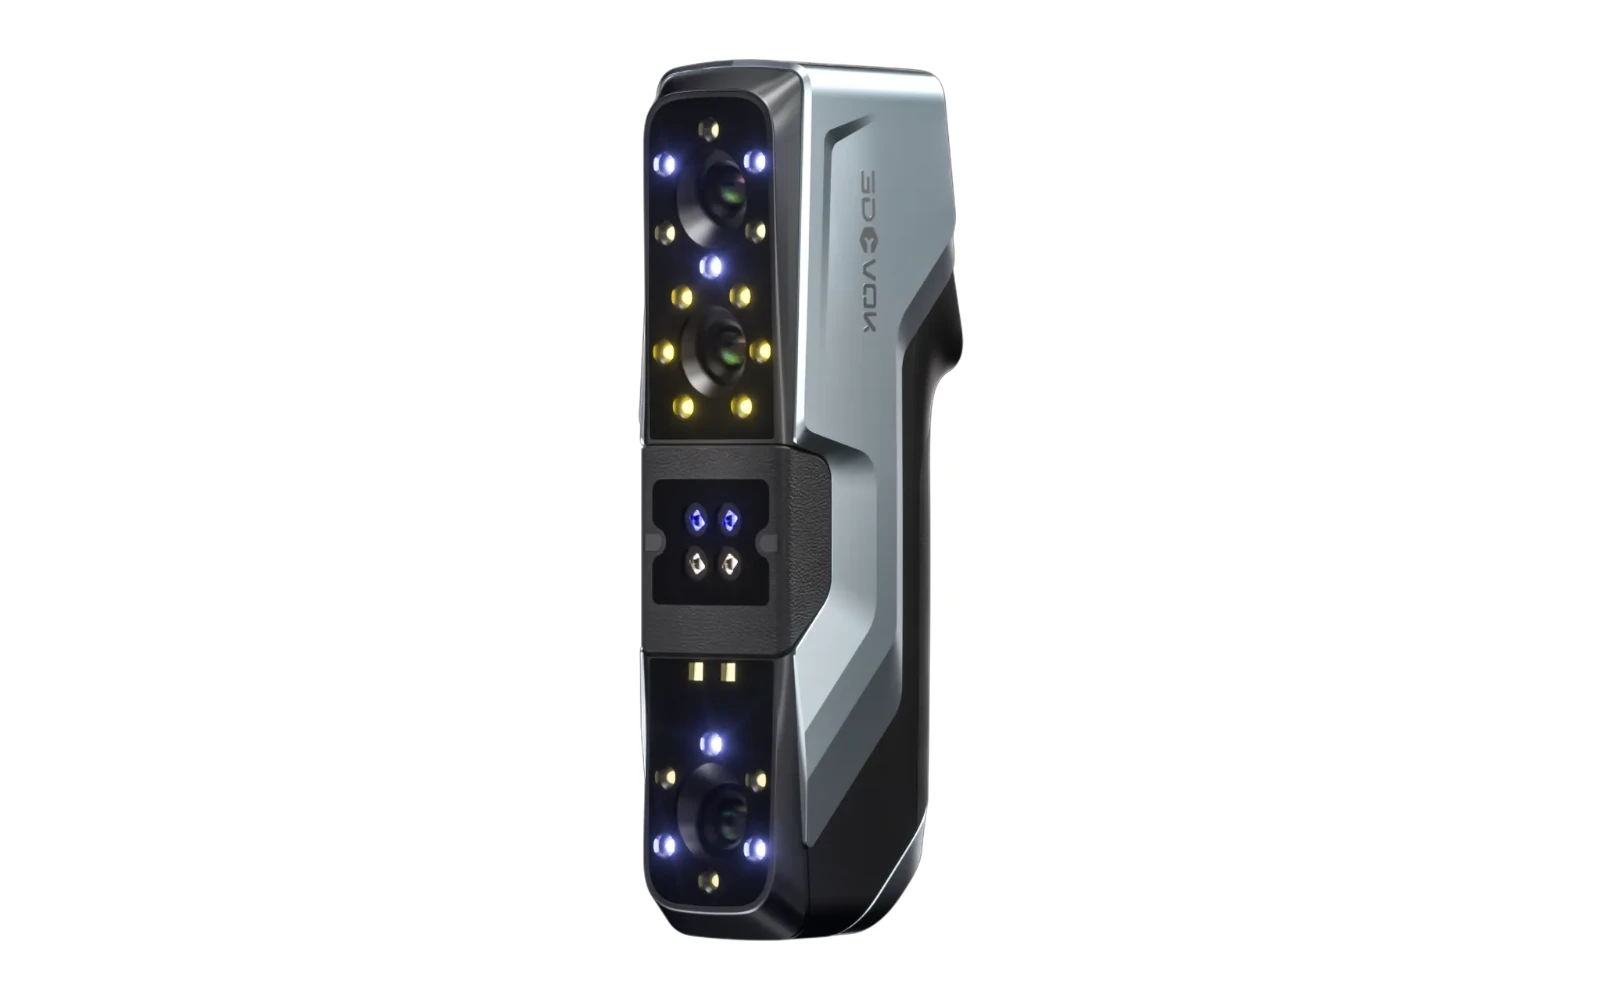
3DeVOK
Three capture modes. More options for your object.
Explore the product ↗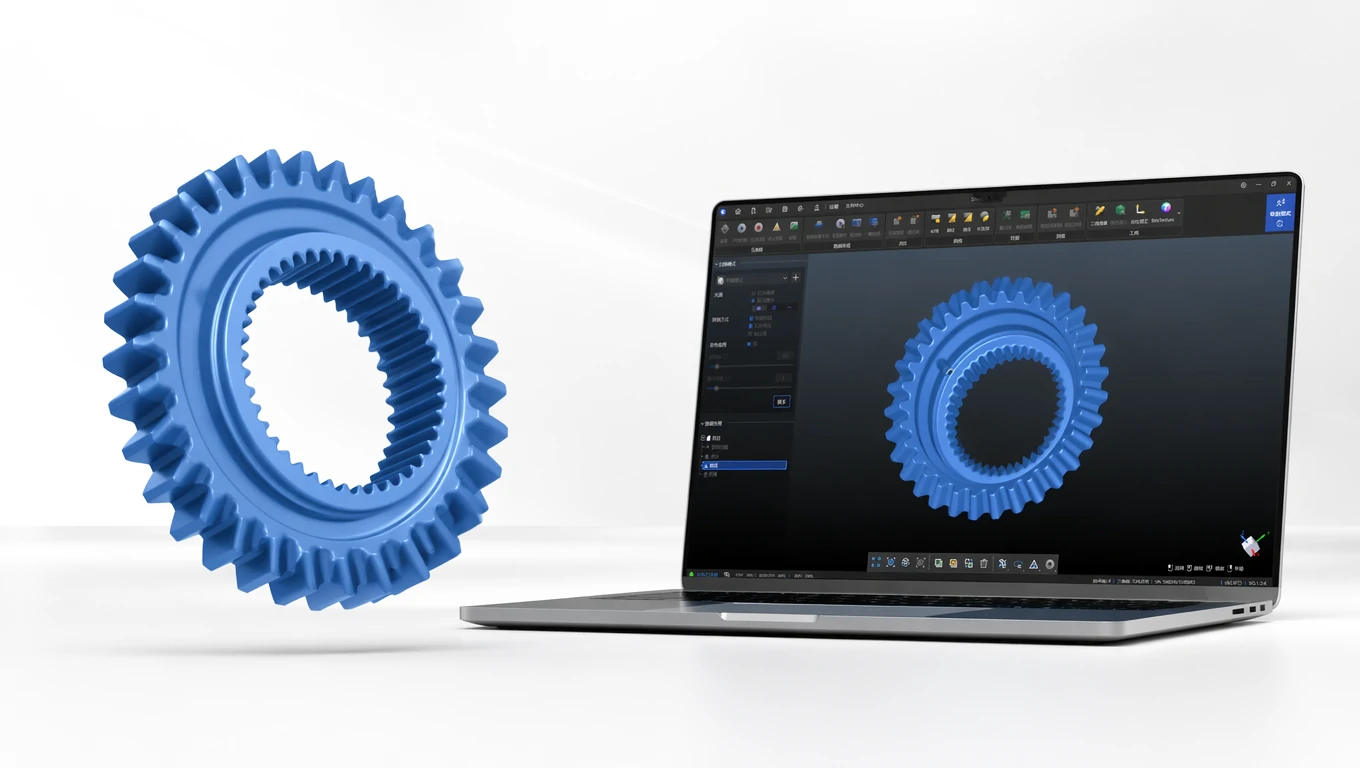
3DeVOK
From first capture to a finished 3D model.
Explore the product ↗3D ING / TALK ABOUT YOUR PROJECT
What do you want to scan and what result do you need?
Describe the object, its size, material and the intended use of the data. Together we can clarify the basis for choosing equipment.