3DeVOK
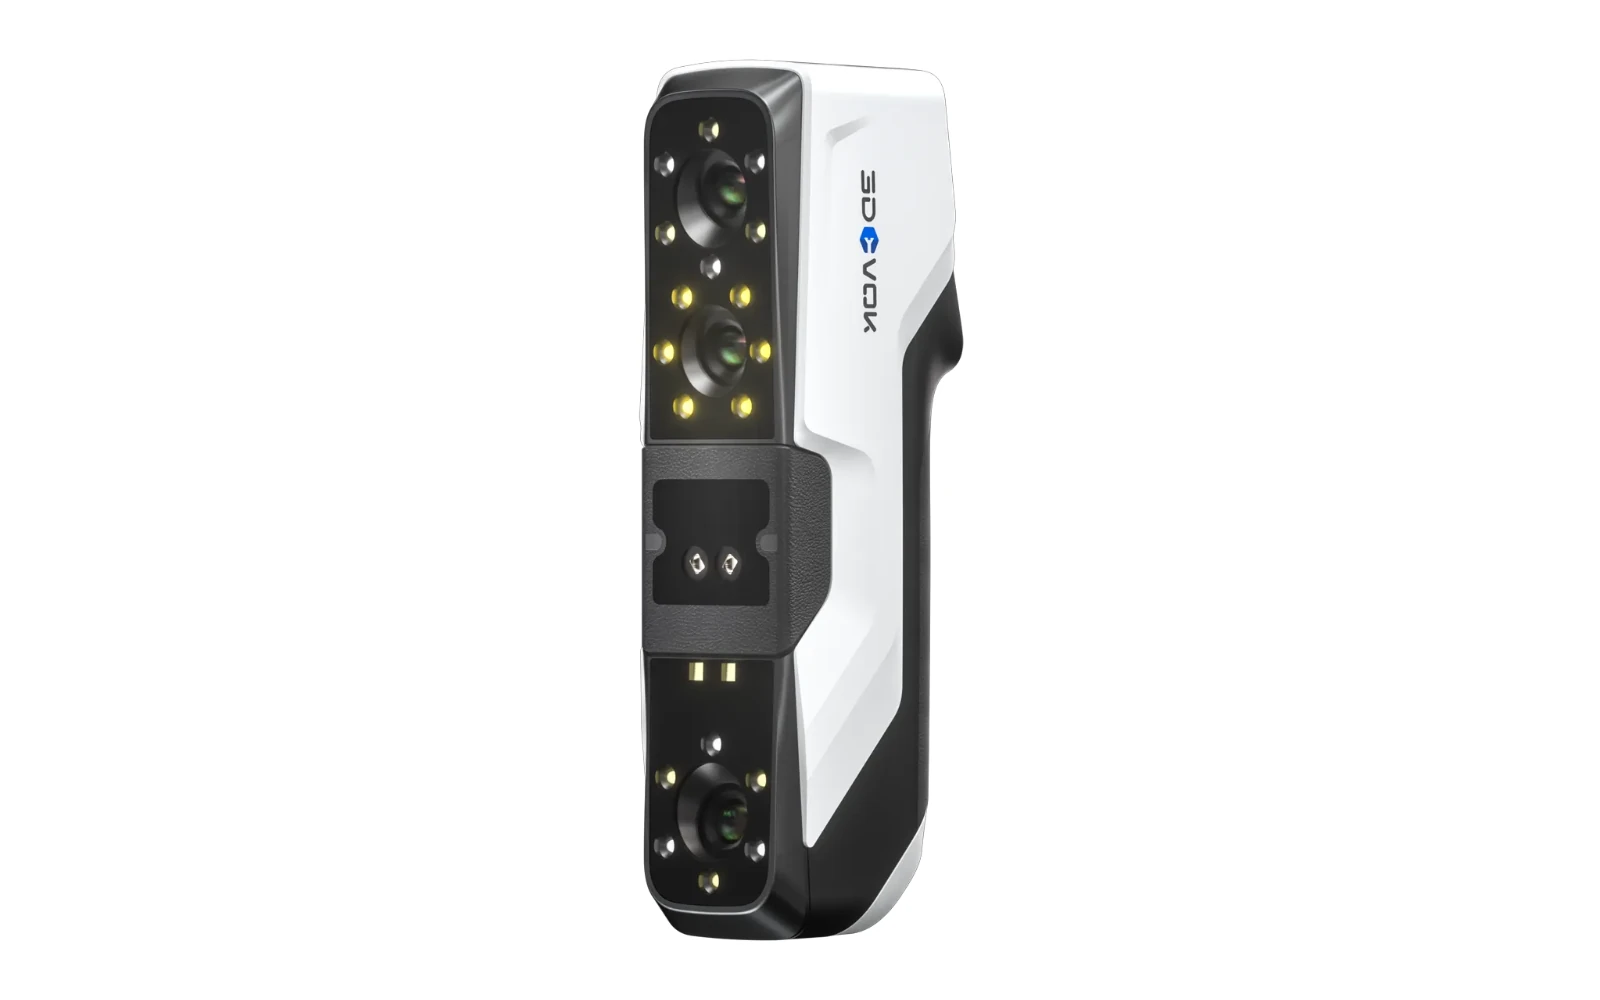
3DeVOK MQ
Shape and colour. In one workflow.
Explore the product ↗3DeVOK / SCANNING SOFTWARE
From first capture to a finished 3D model.
Book a demonstration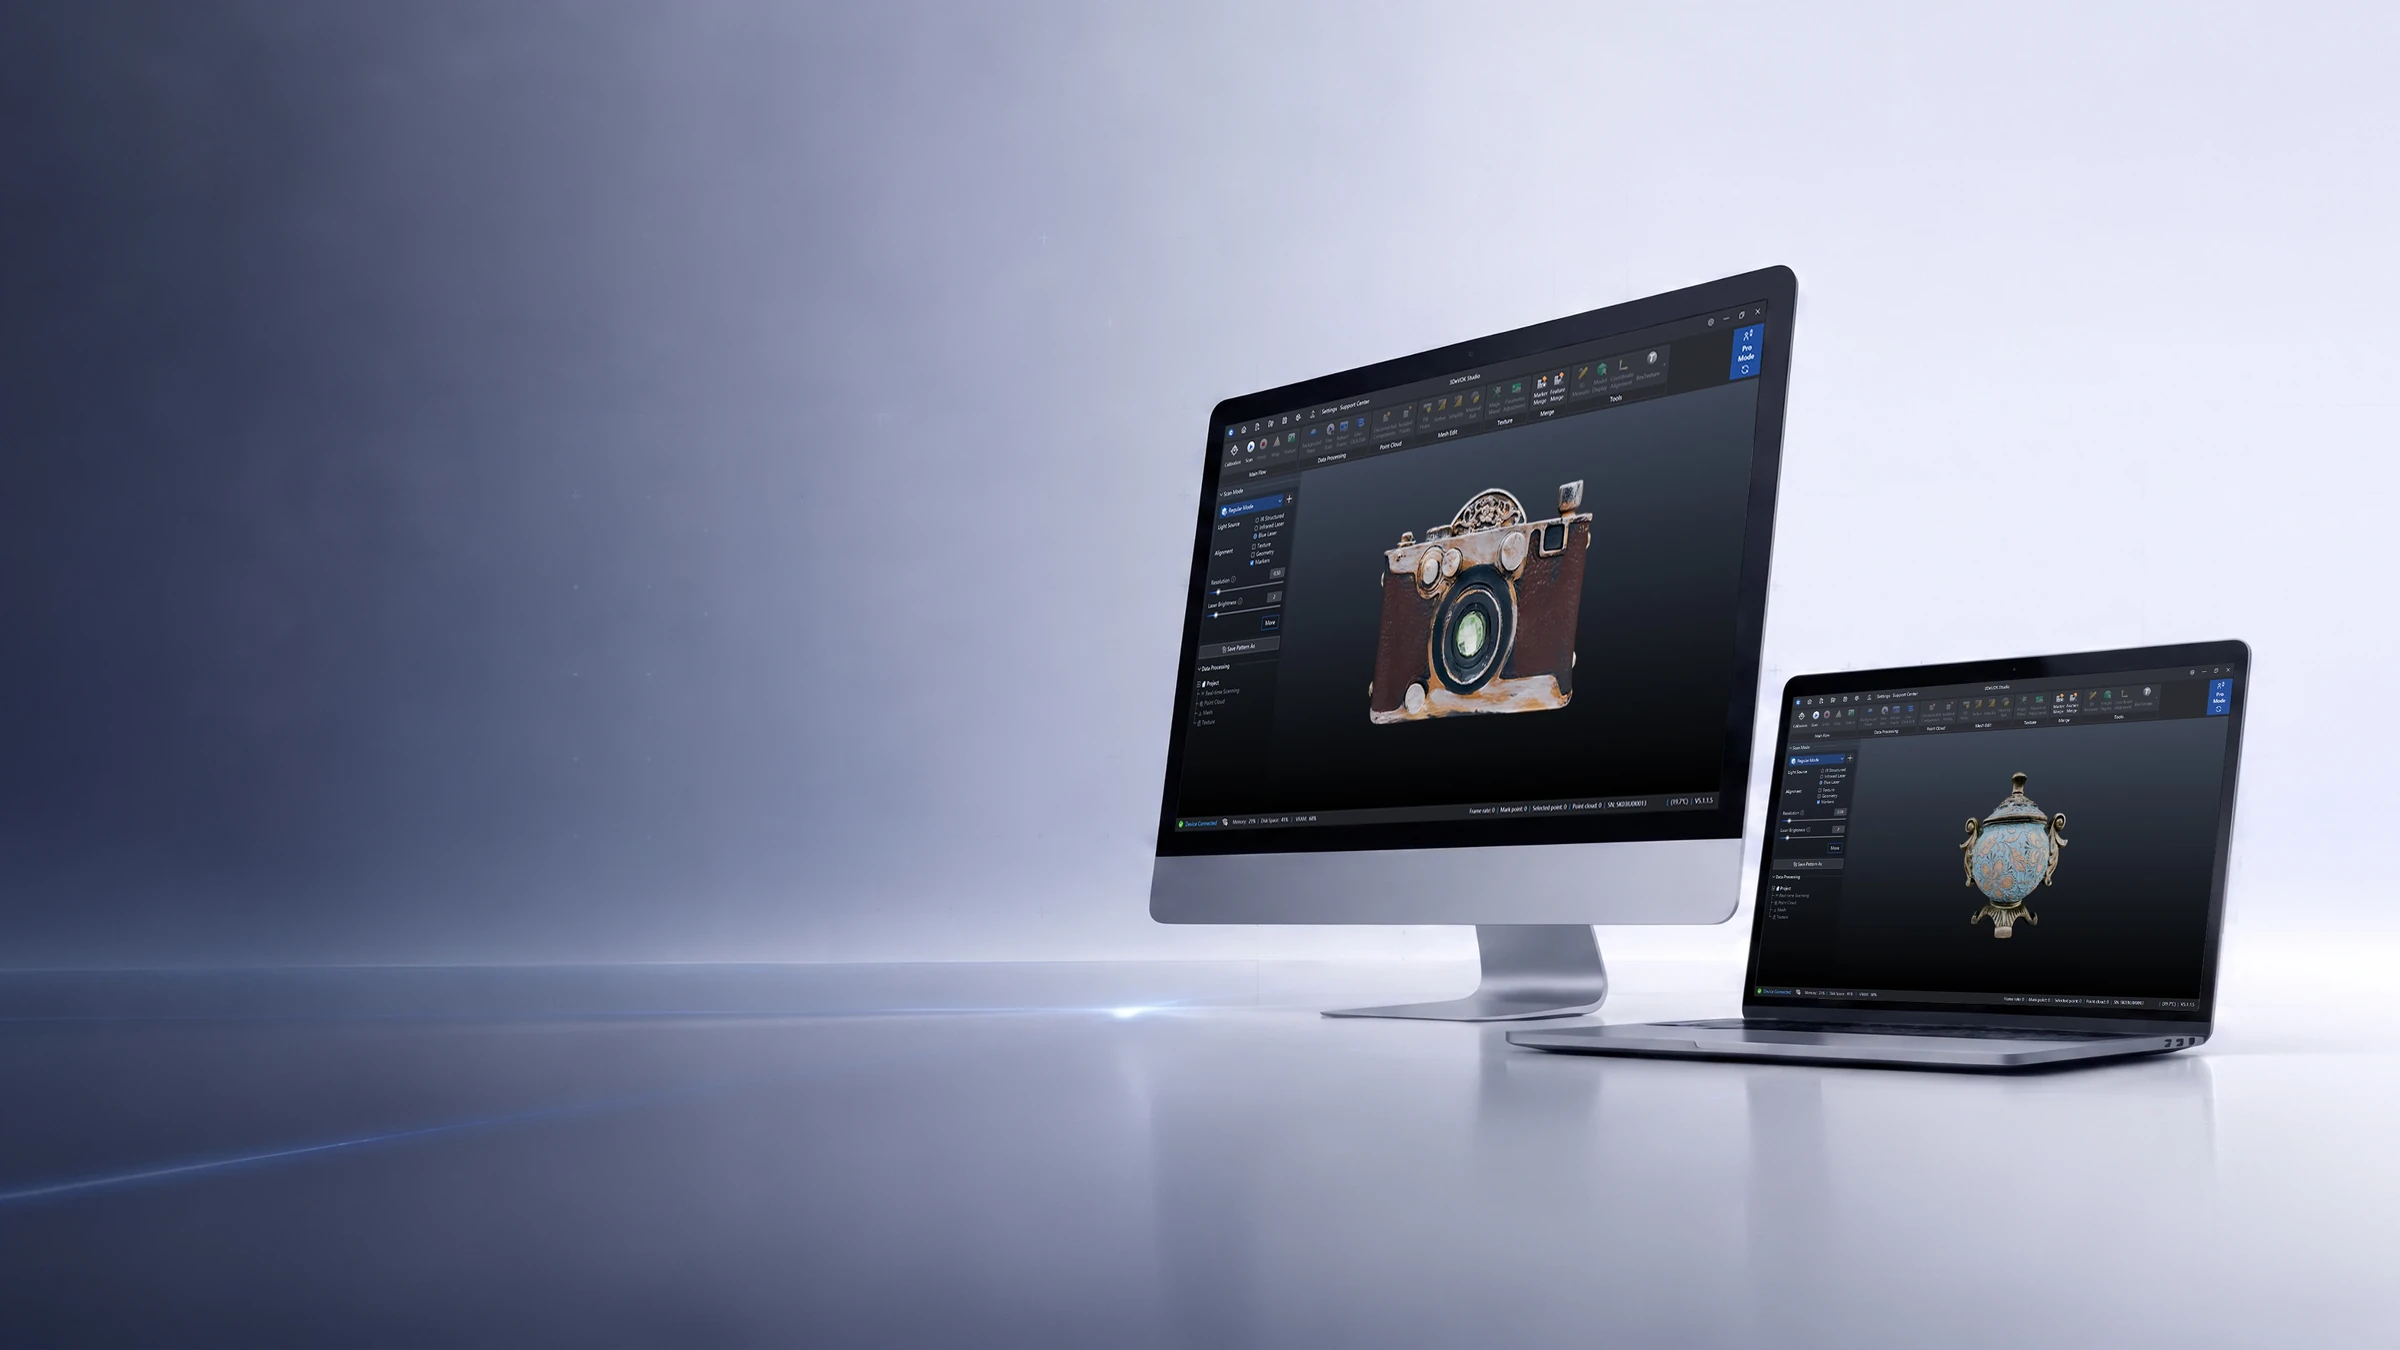
01 / OVERVIEW
Studio combines scan setup, data capture, point cloud processing, mesh preparation and export for further work.
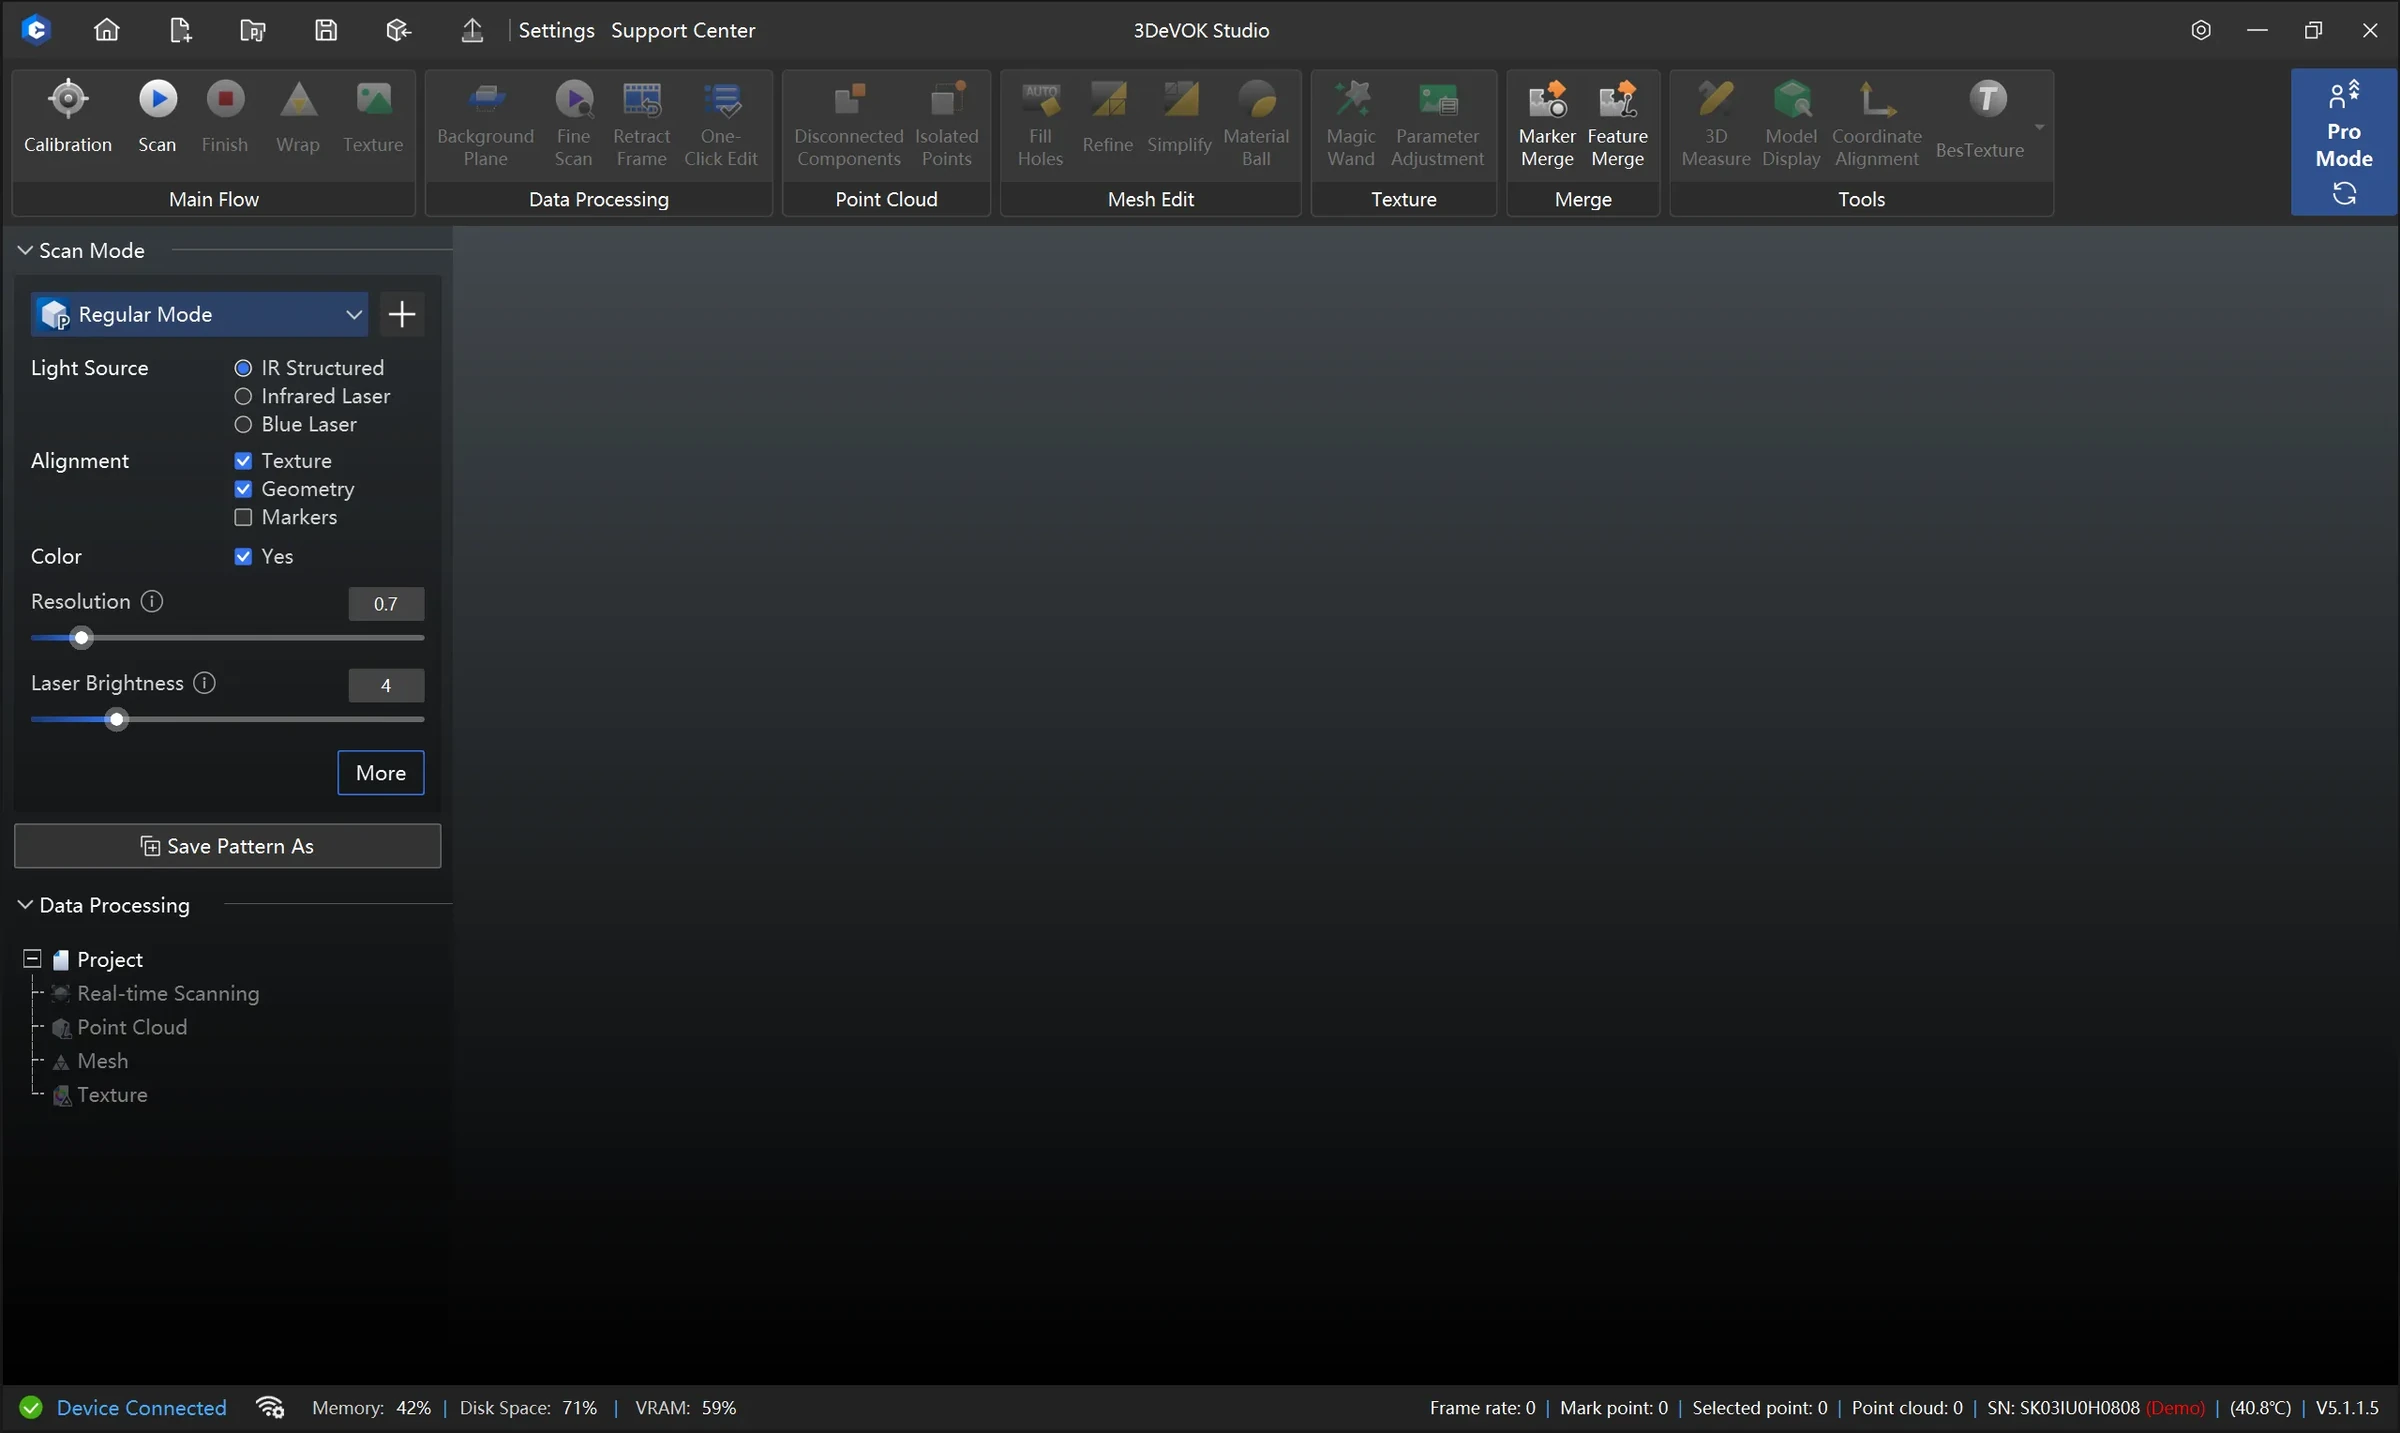
scan setup and monitoring
point cloud and mesh
data for the next step
02 / 01 / PREPARATION
Choose scanning mode, alignment and resolution. Presets help you start, and custom settings adapt the capture to your object.
03 / 02 / SCANNING
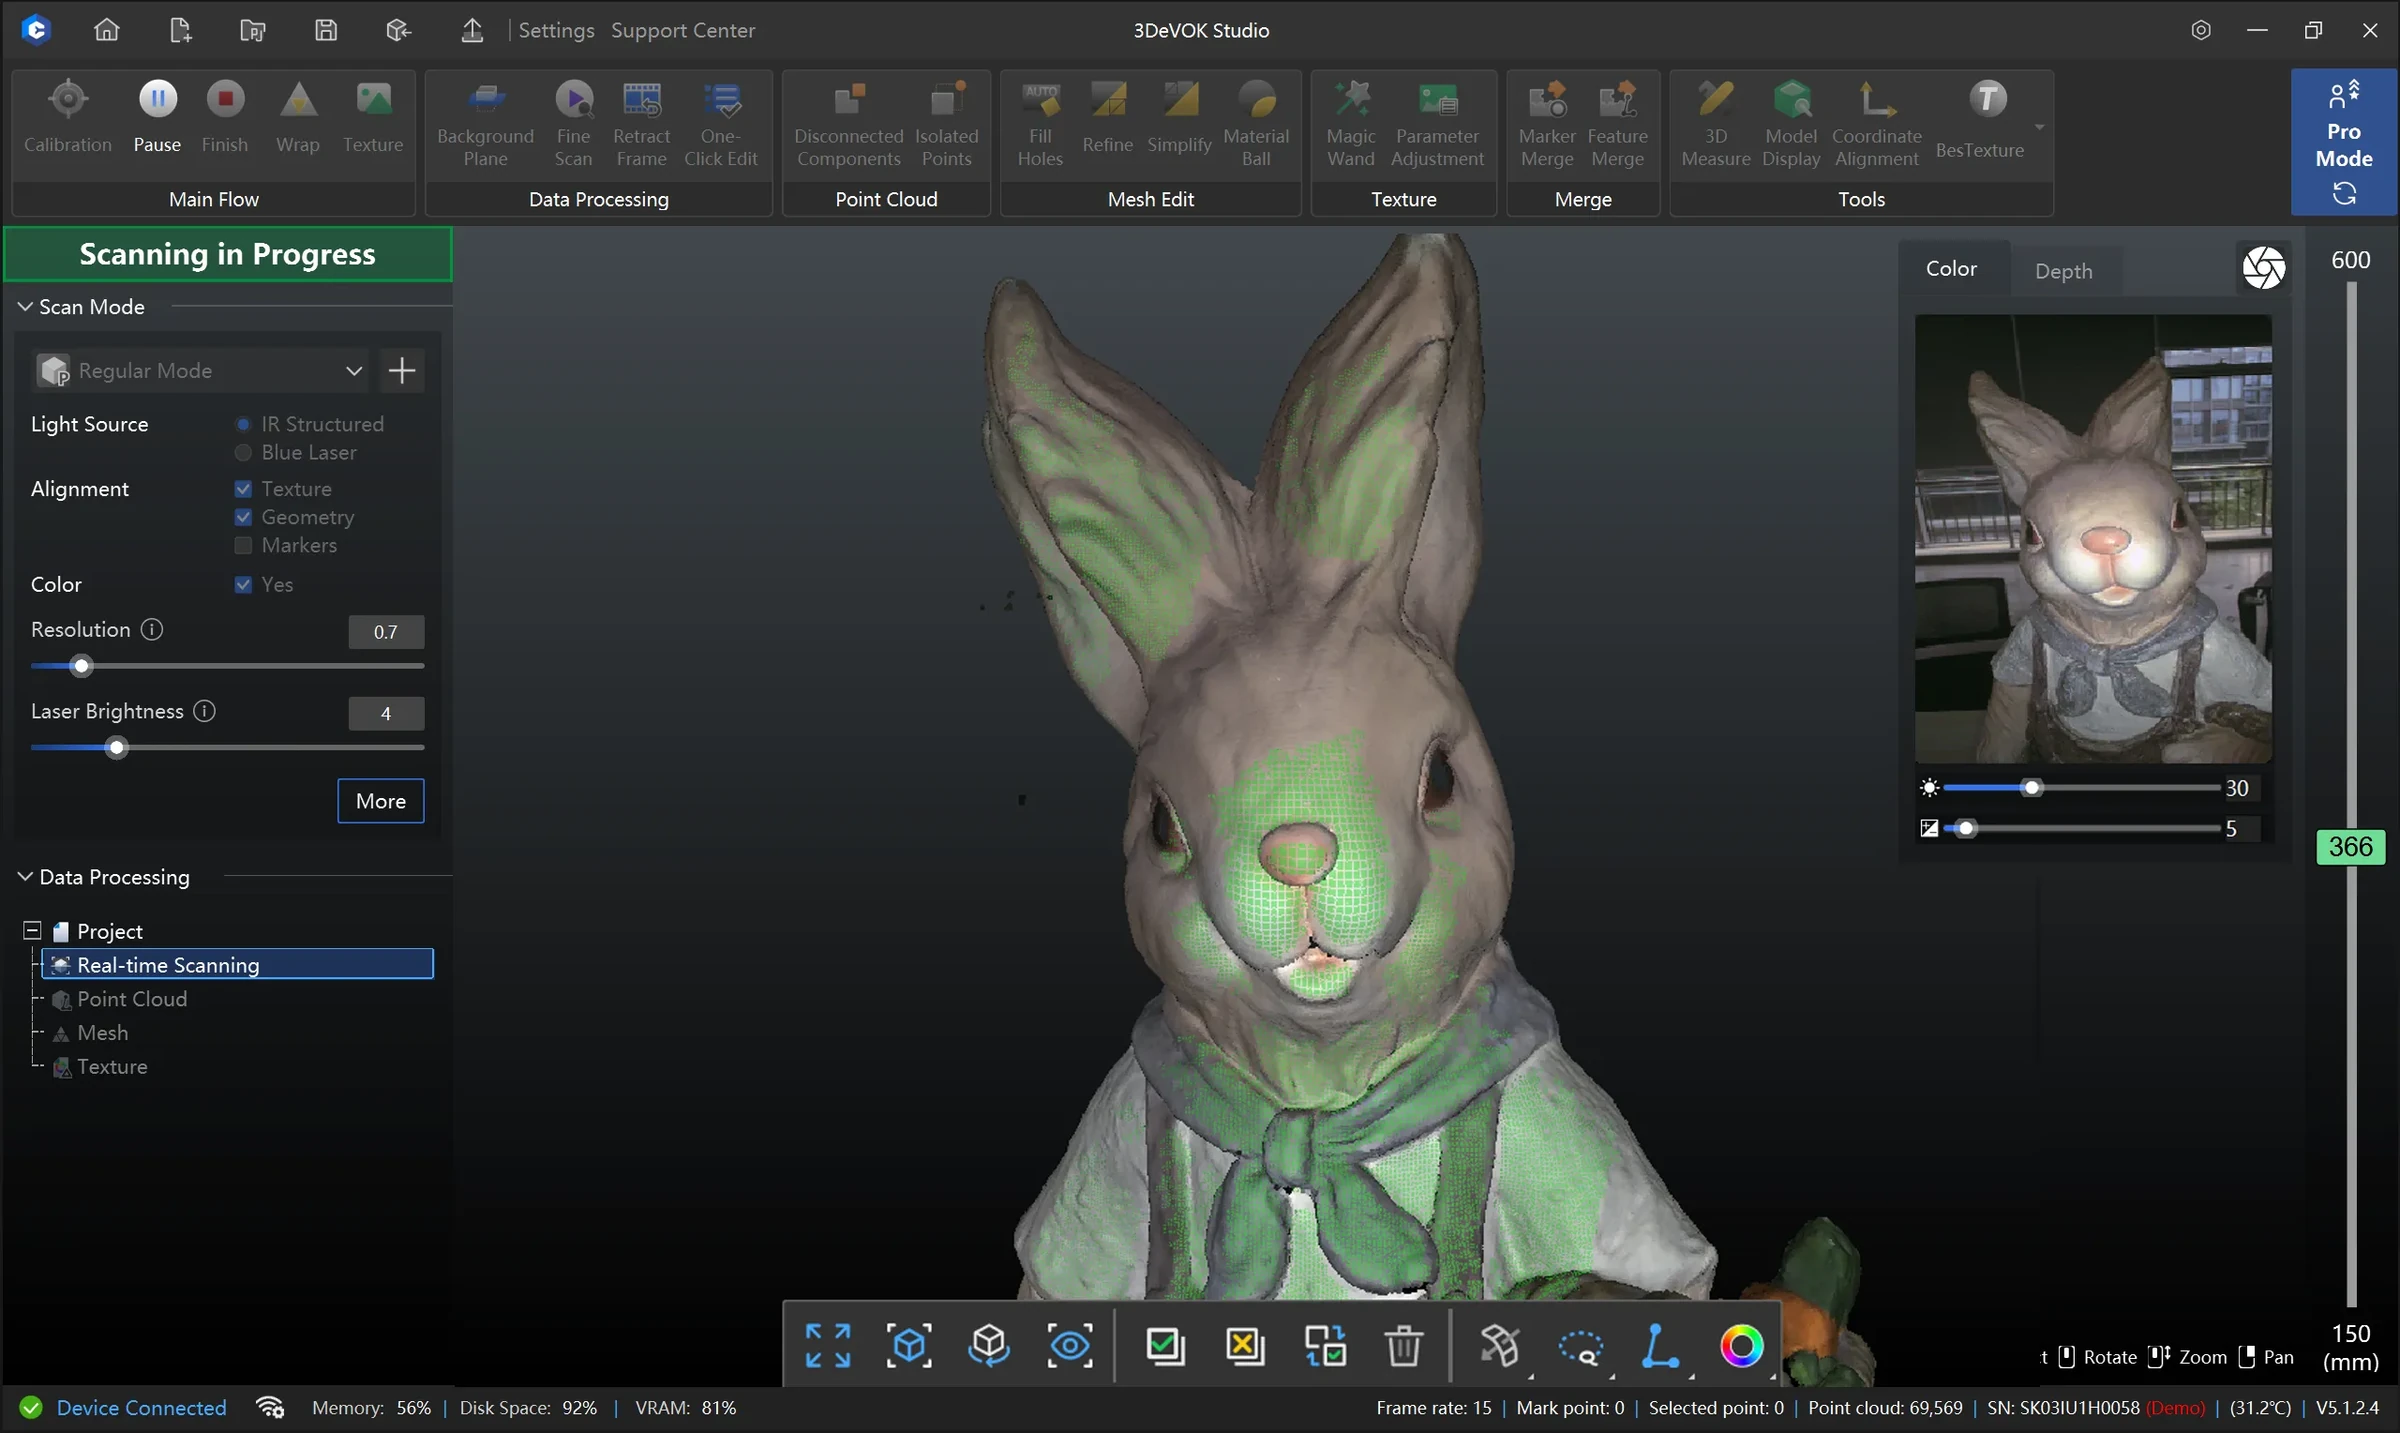
During capture you follow the model and colour data. You can undo wrong frames and continue without starting over for each correction.
04 / 03 / PROCESSING
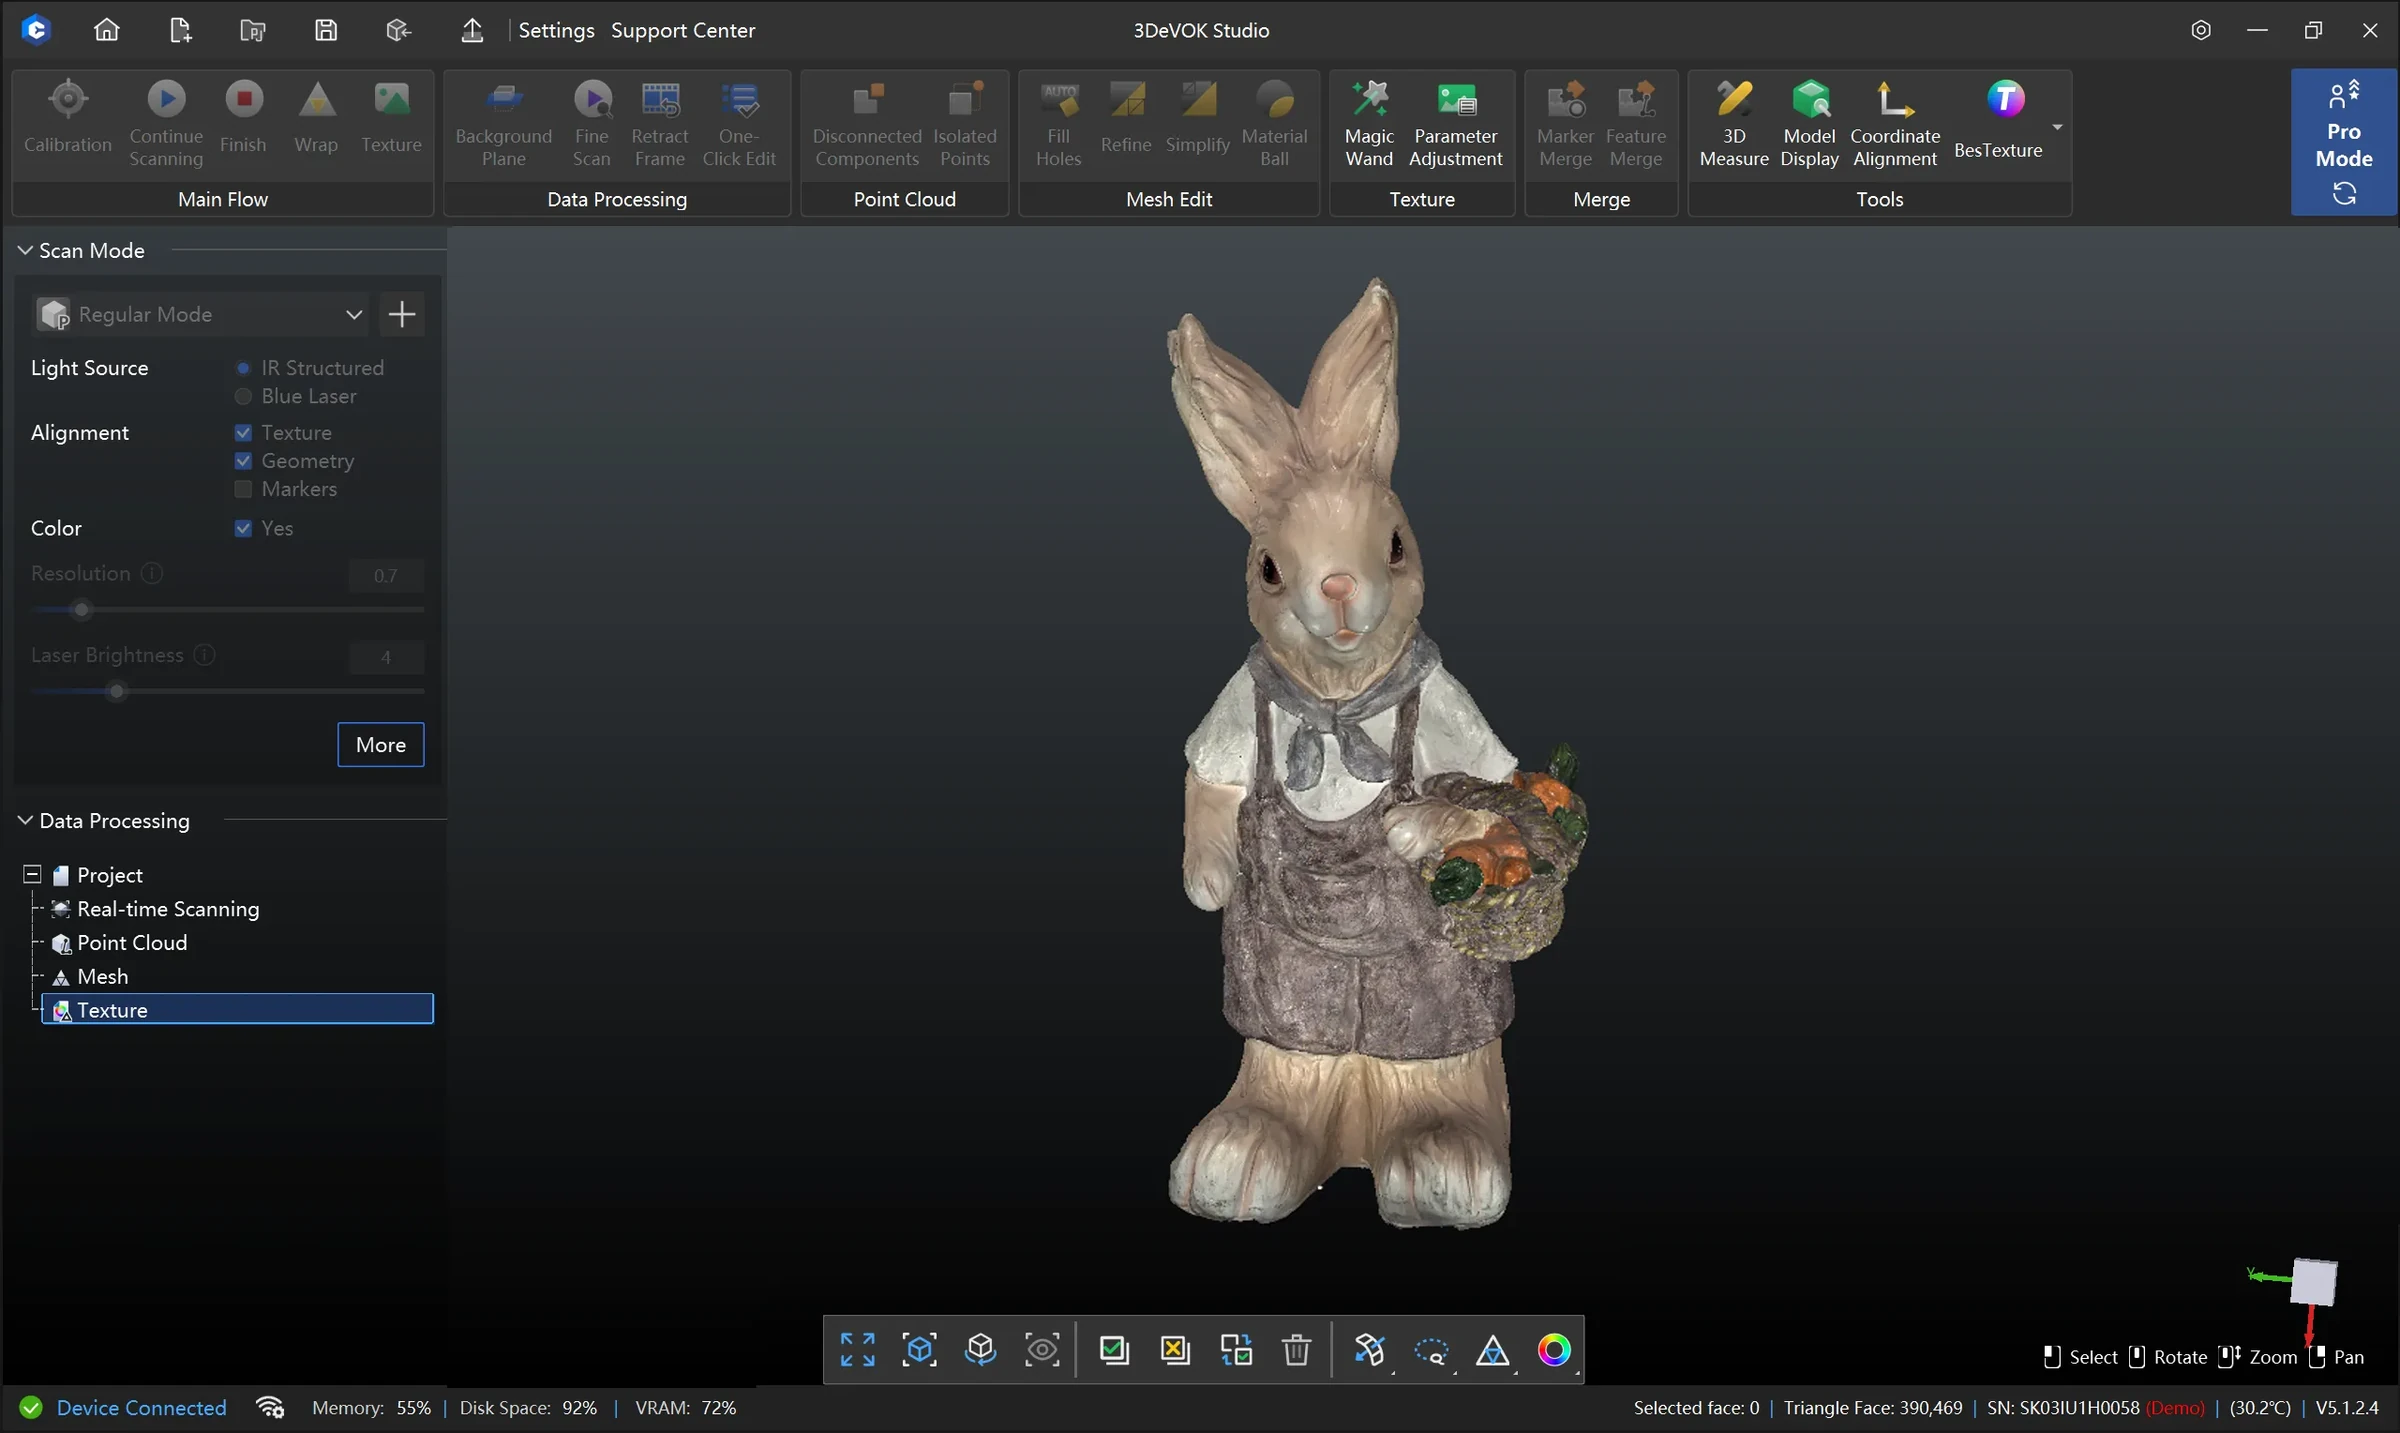
Trim the point cloud, remove noise and prepare the mesh. Adjust smoothing, hole filling and simplification to the purpose of the final model.
05 / 04 / EXPORT
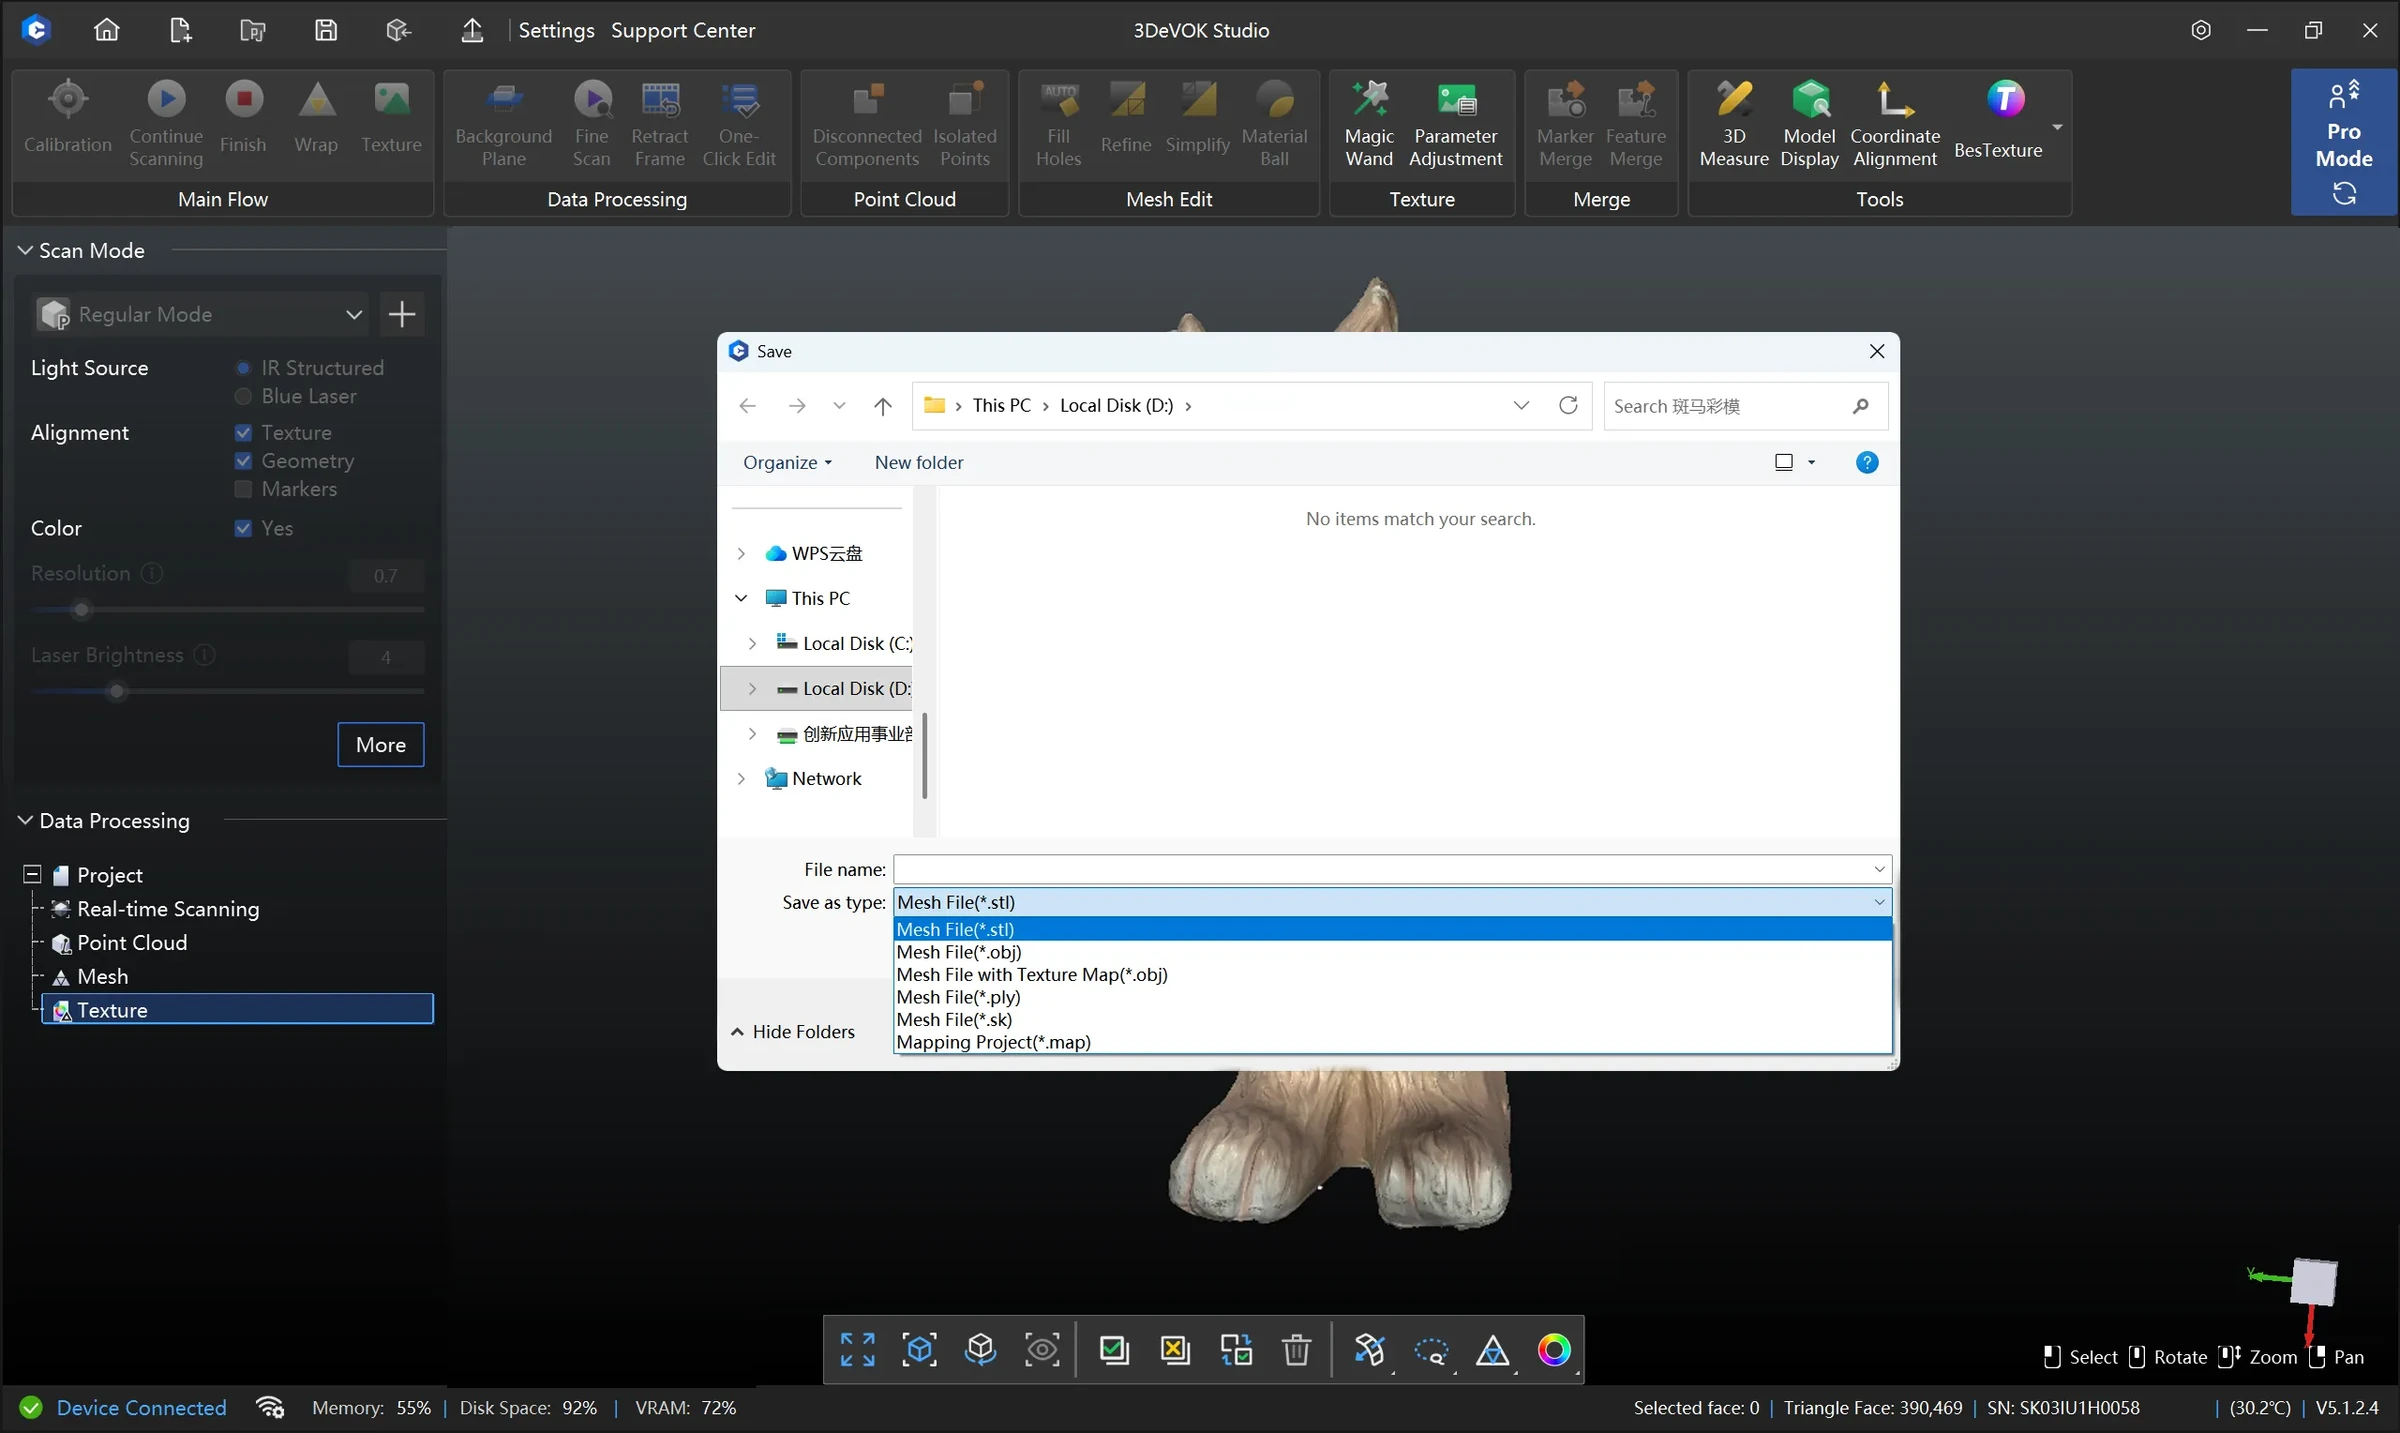
Export the point cloud as ASC, the mesh as OBJ, STL or PLY and marker data as MK2. Choose the format for the next software.
06 / SYSTEM DIAGNOSTICS
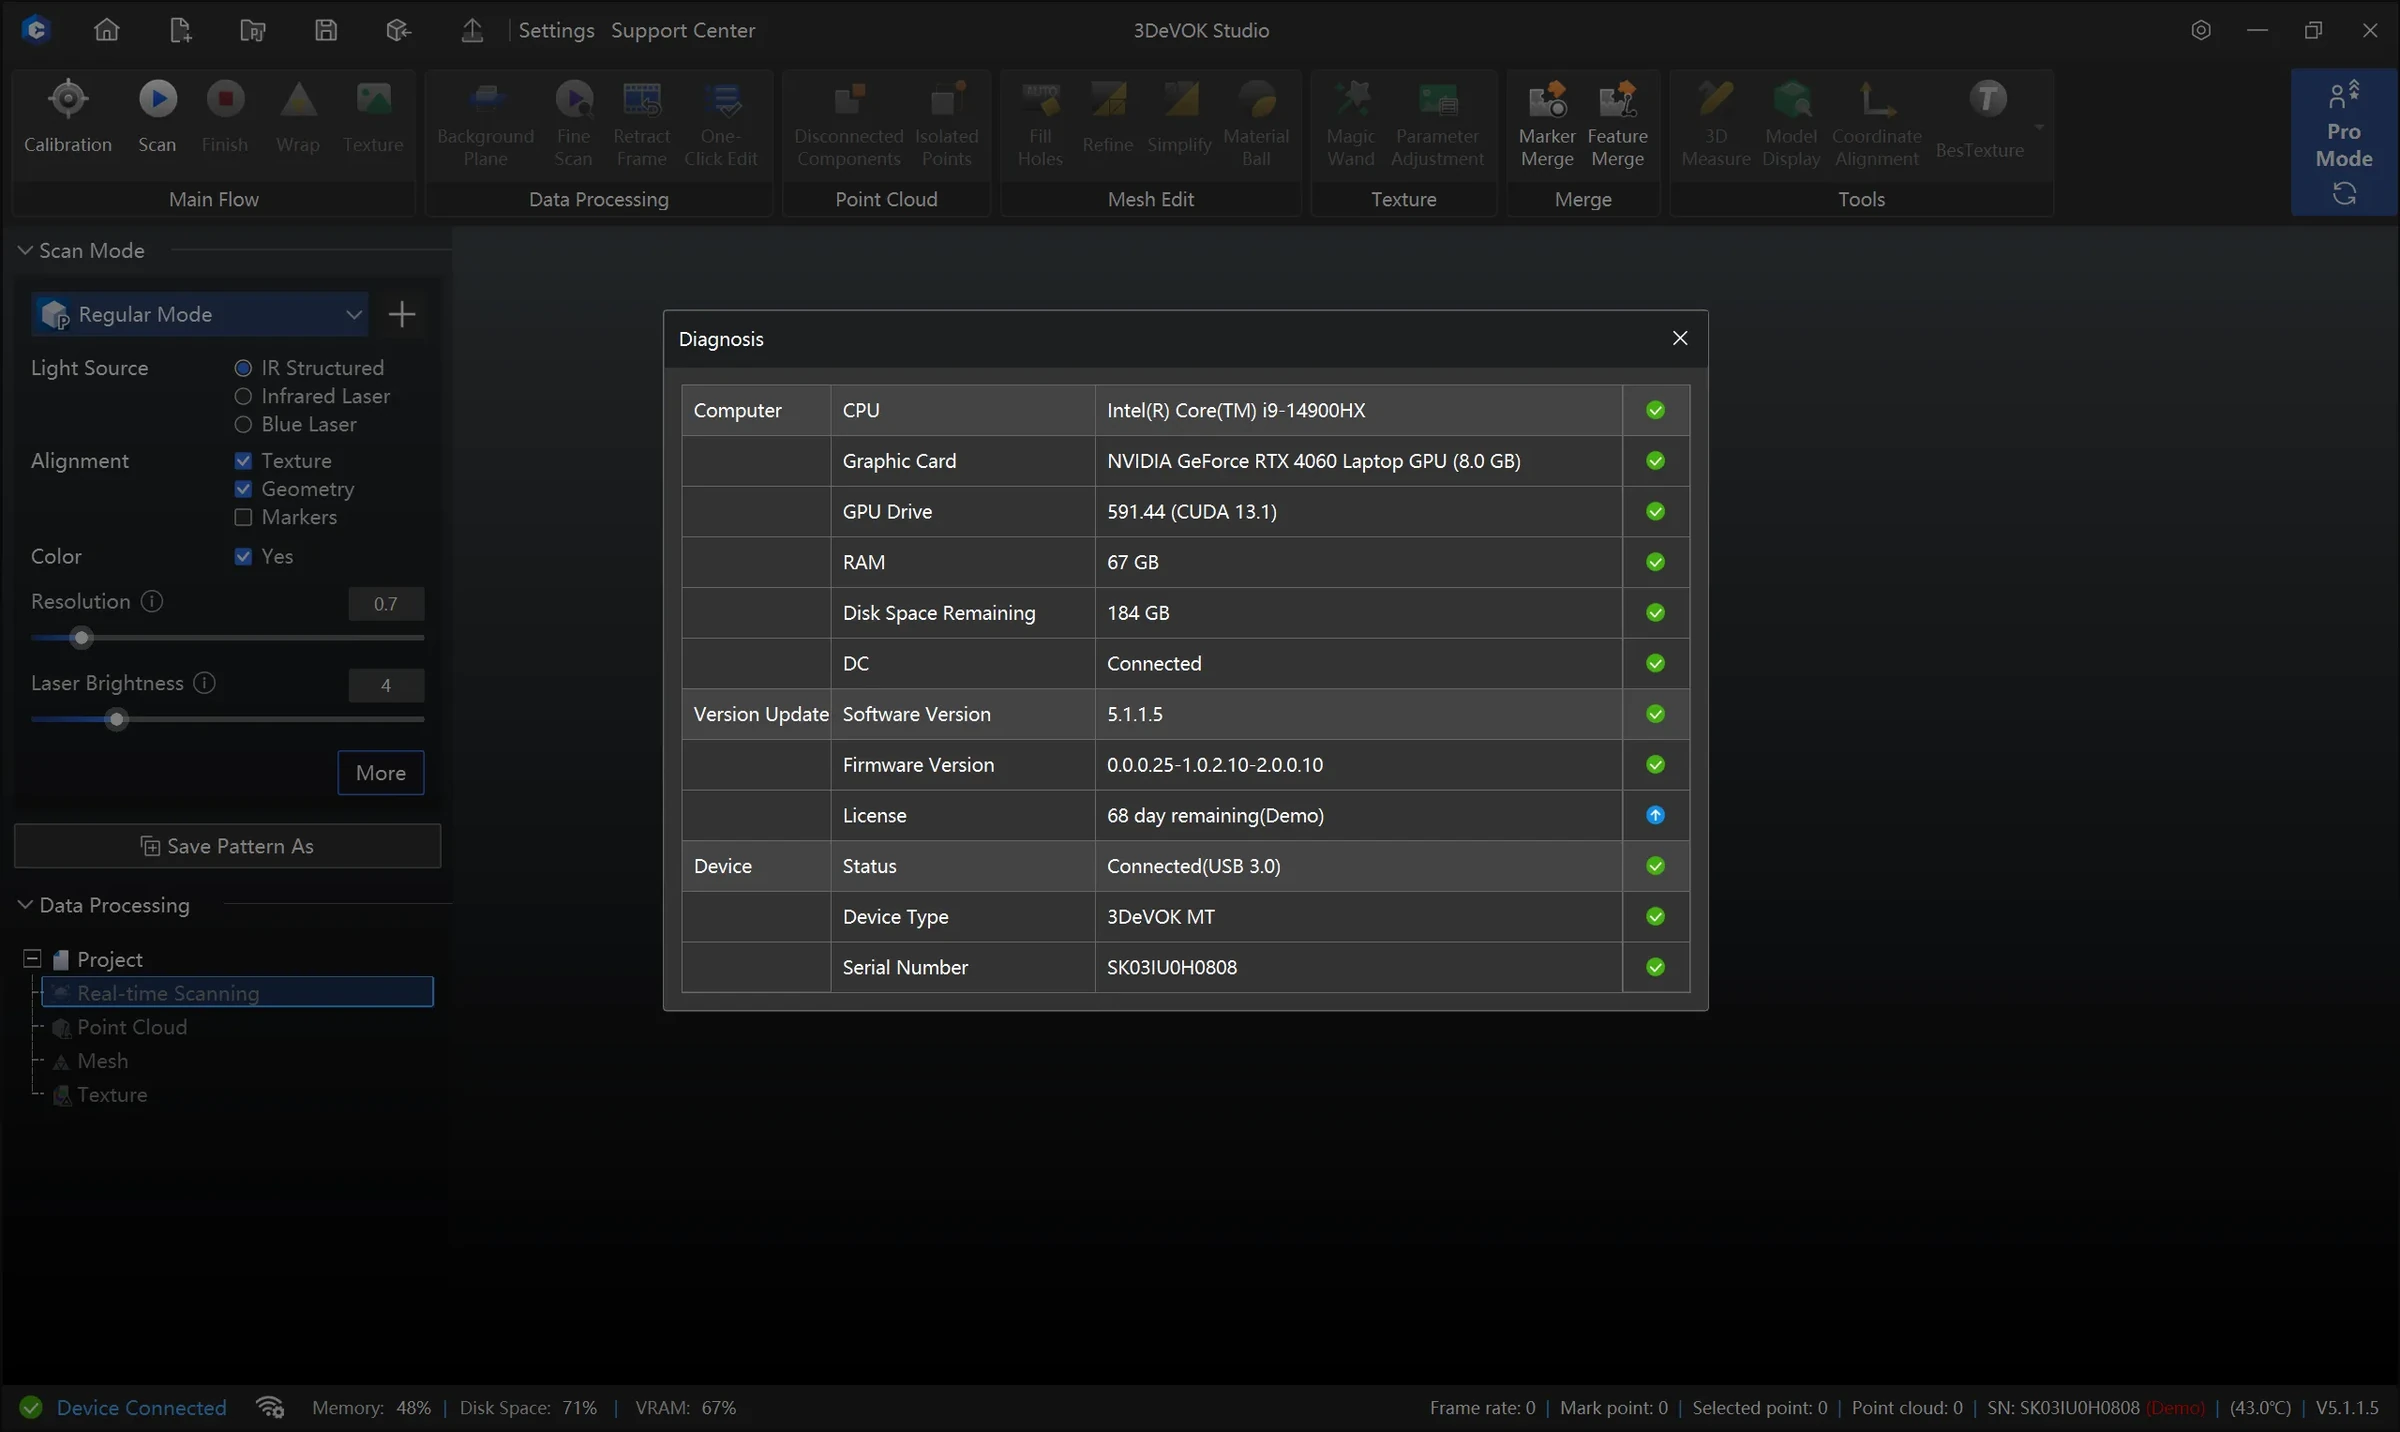
A built-in check reviews key parts of the computer configuration and the scanner connection, so you can spot problems before starting a project.
07 / CONNECTED WORKFLOW
Studio prepares scanned data for further tools. For CAD reconstruction and measurement analysis, connect it with dedicated software.
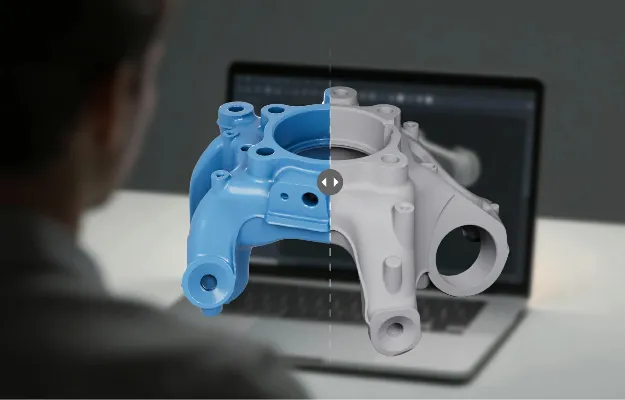
MANUFACTURER VIDEO / YOUTUBE
See the process and features in the official video presentation.
Open video on YouTube08 / TECHNICAL DATA
A selection of key parameters. When choosing, consider object size, required accuracy and working conditions.
Support for individual features depends on the software version and compatible scanner model.
09 / RELATED EQUIPMENT
3DeVOK
Shape and colour. In one workflow.
Explore the product ↗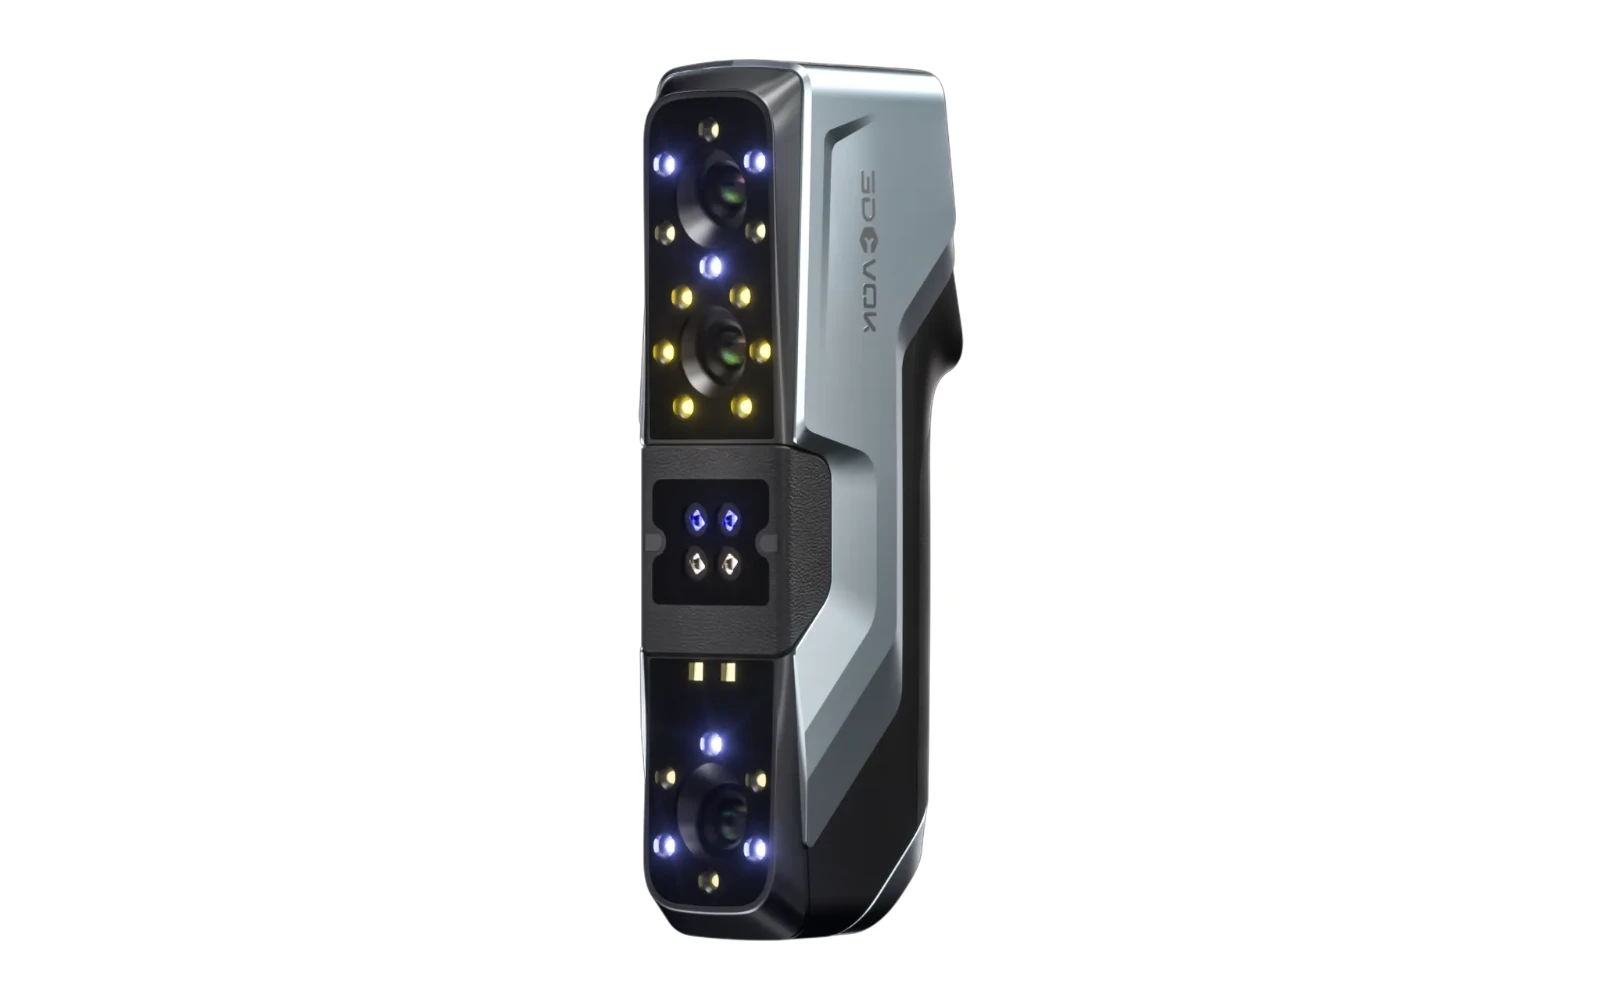
3DeVOK
Three capture modes. More options for your object.
Explore the product ↗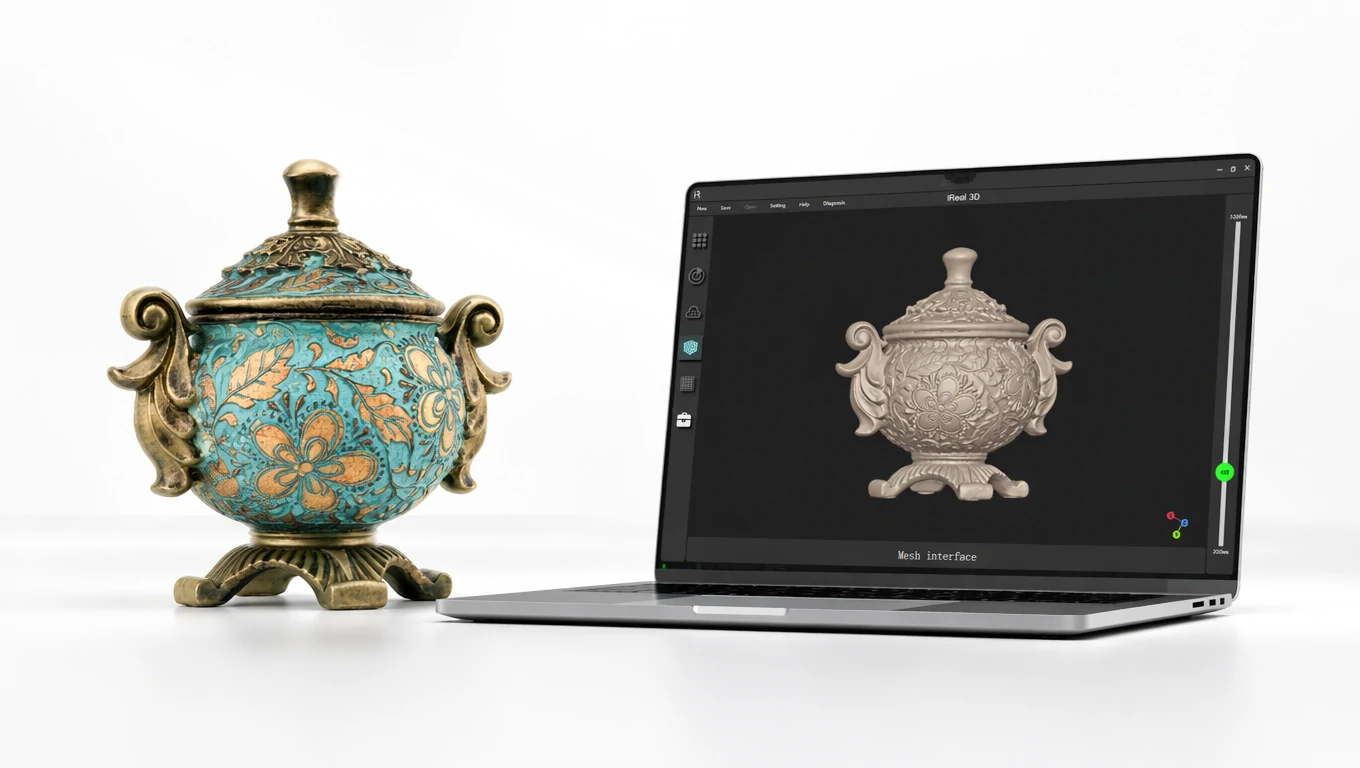
3DeVOK
Add a convincing colour appearance to geometry.
Explore the product ↗3D ING / TALK ABOUT YOUR PROJECT
What do you want to scan and what result do you need?
Describe the object, its size, material and the intended use of the data. Together we can clarify the basis for choosing equipment.