02 / MODEL PREPARATION
From capture to production geometry.
A mesh model is not automatically ready for printing or parametric editing. Mesh cleaning, reconstruction and any design changes follow the product's purpose and manufacturing method.
SOLUTIONS / PRODUCT DEVELOPMENT AND 3D PRINTING
Connect a physical sample with digital development. Scanned geometry is the basis for adaptations, reconstruction and prototype preparation.
Discuss a solution Explore the workflow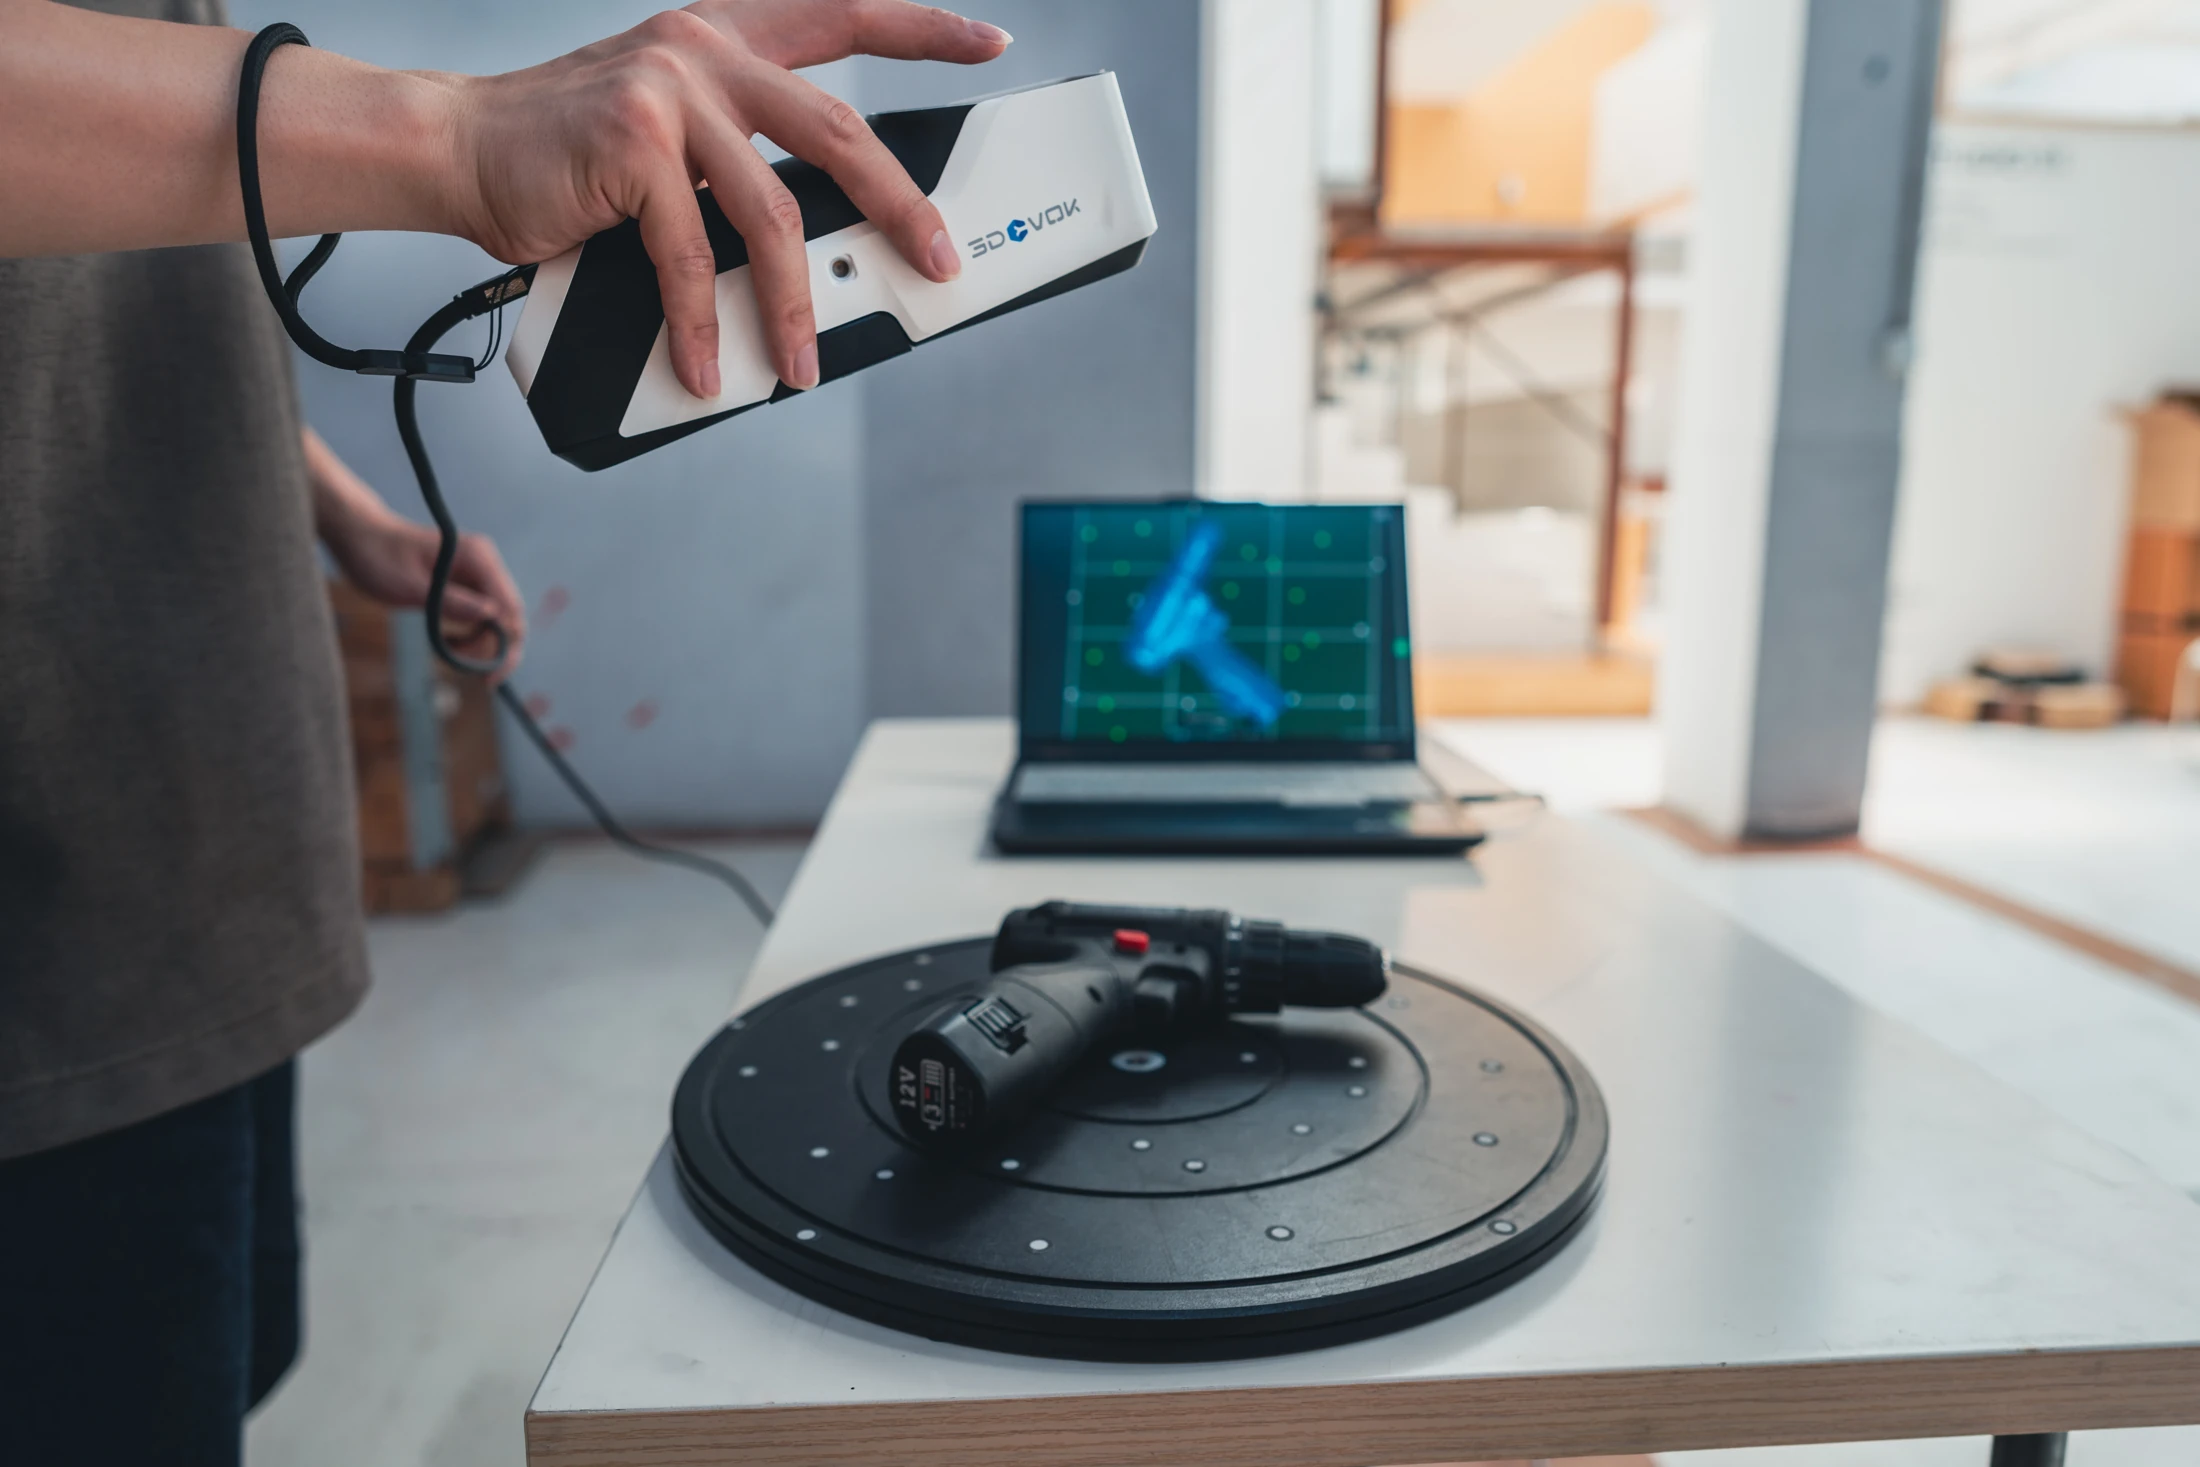
01 / ADAPTATION
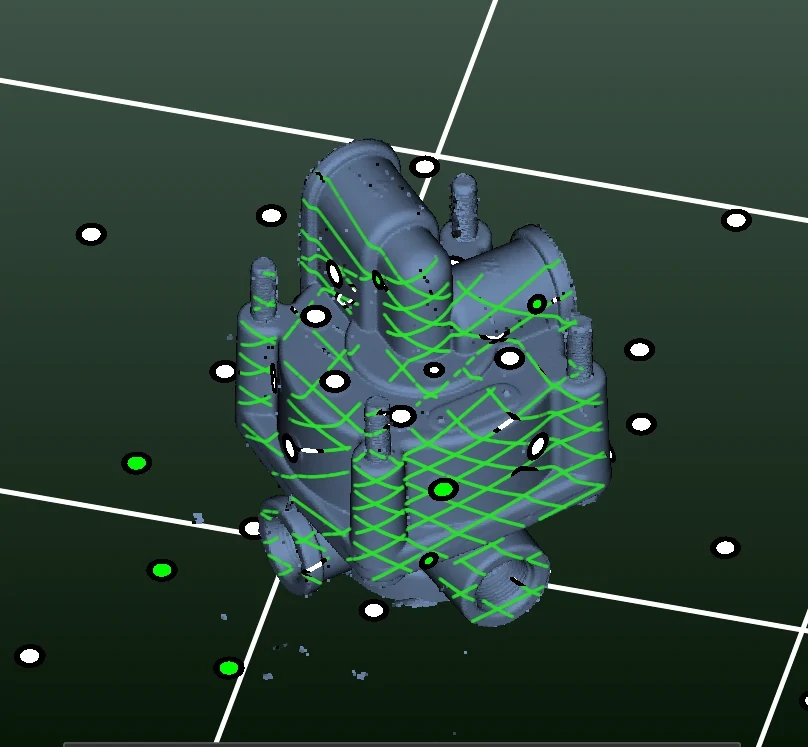
Capturing the surfaces a new part must fit brings the physical sample into the digital development environment. The geometry is the basis for adaptations, reconstruction and further design.
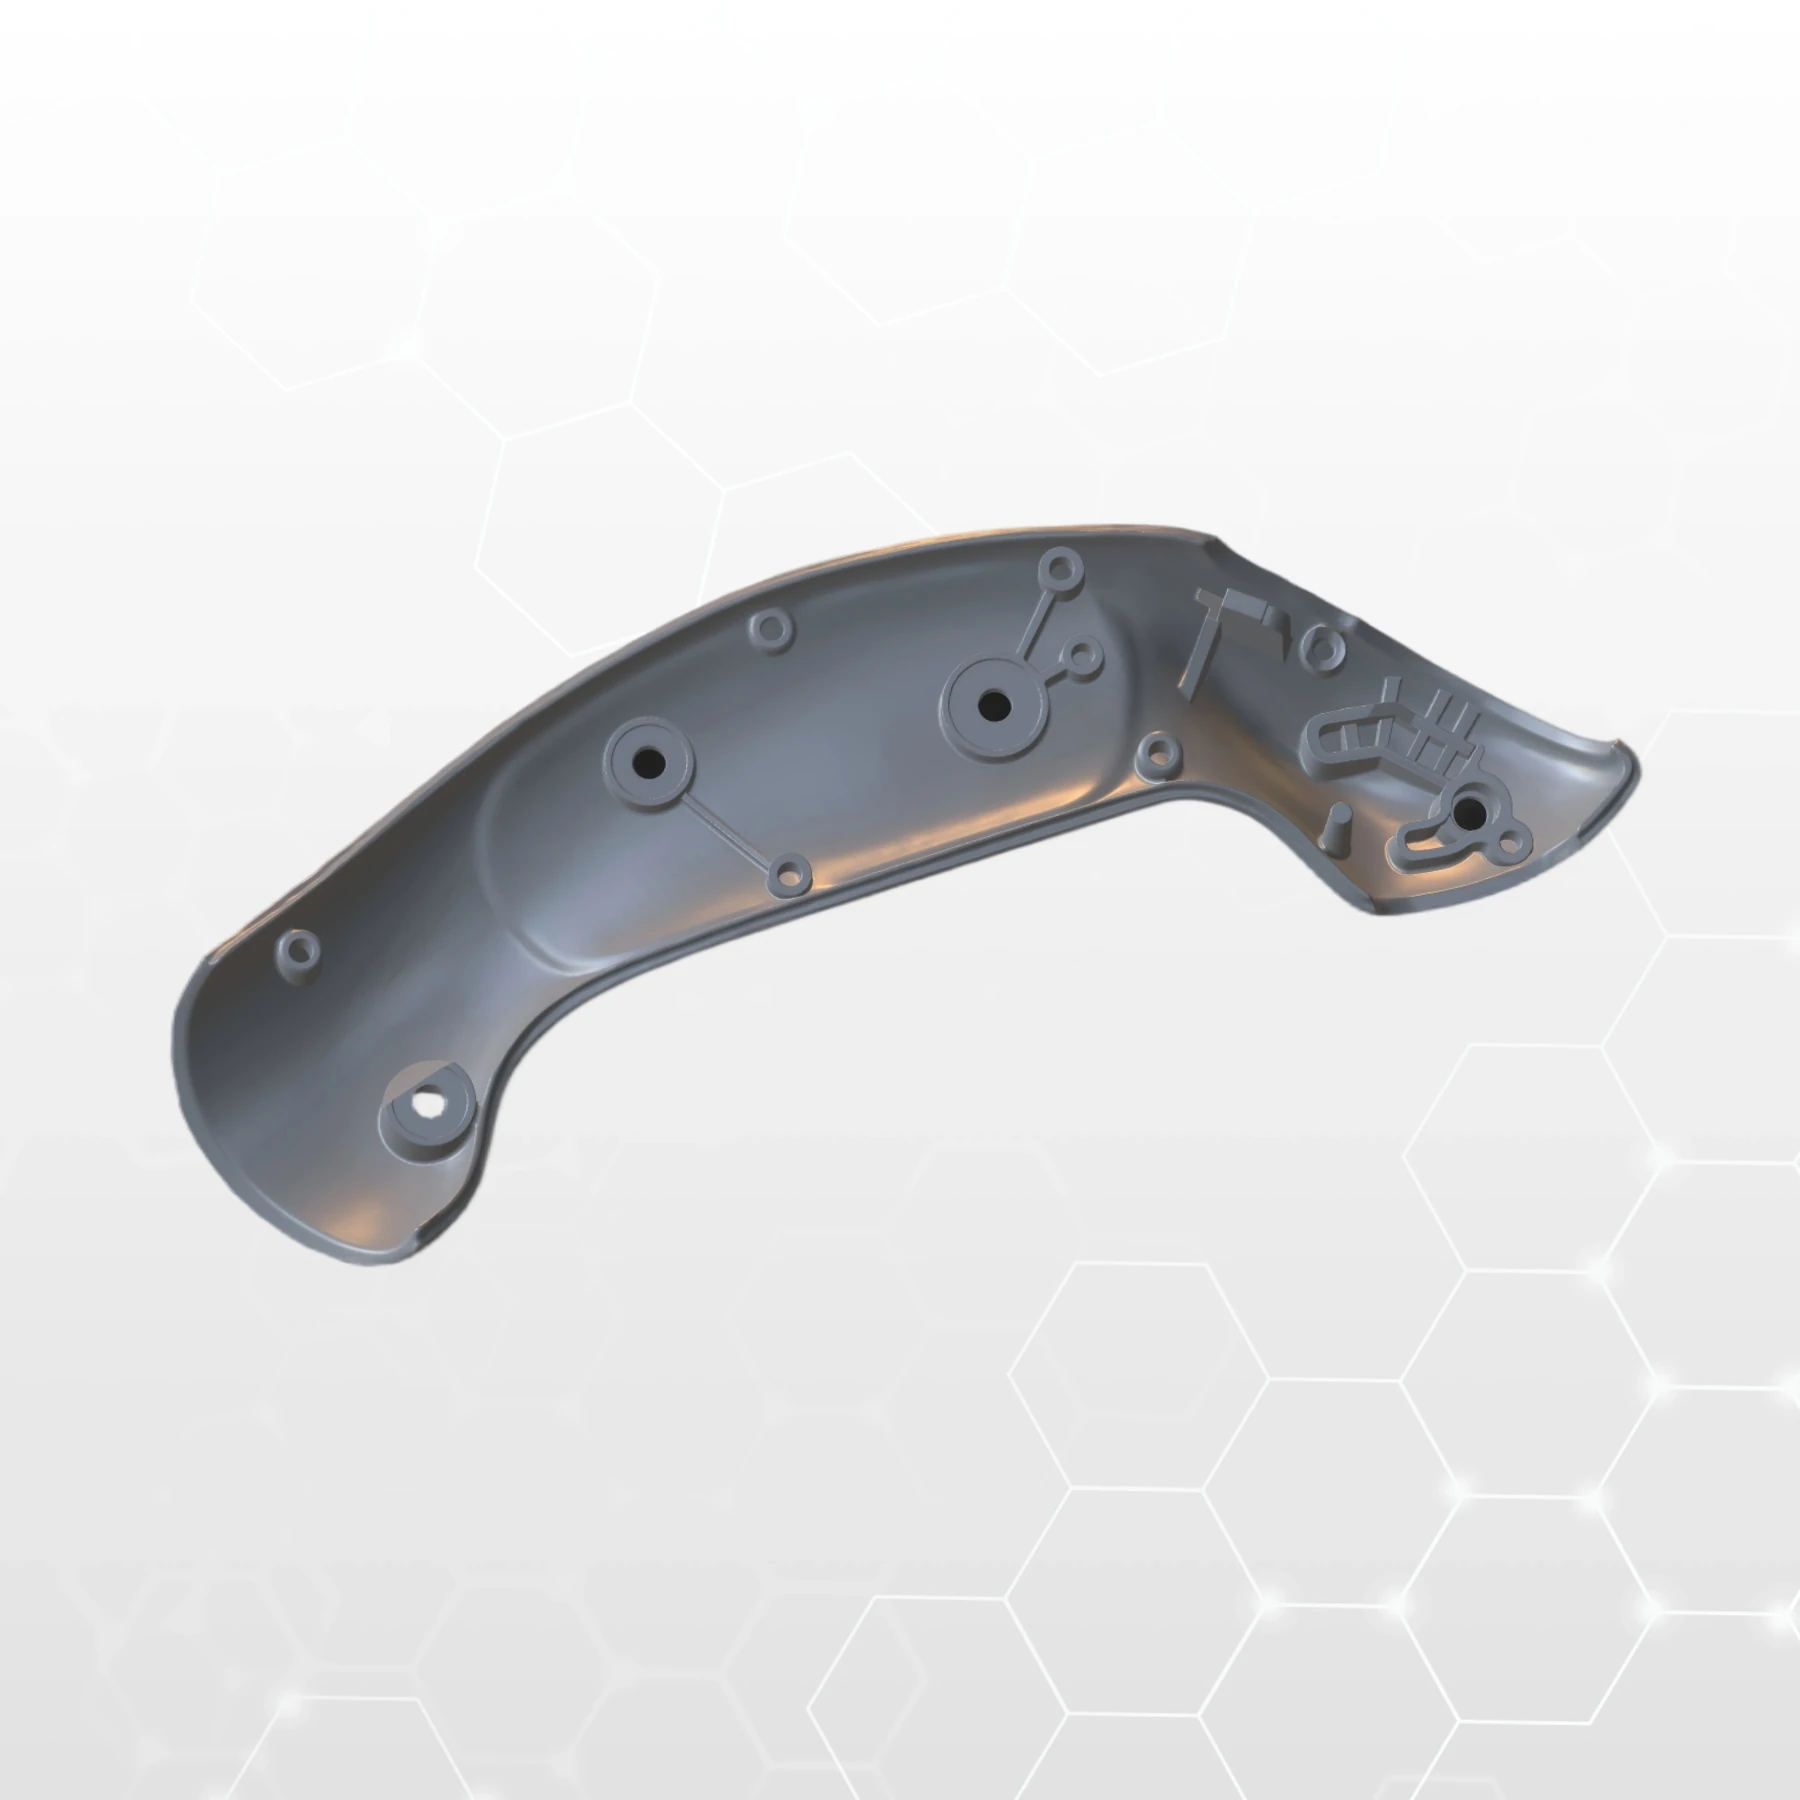
FROM OBJECT TO USABLE DATA
02 / MODEL PREPARATION
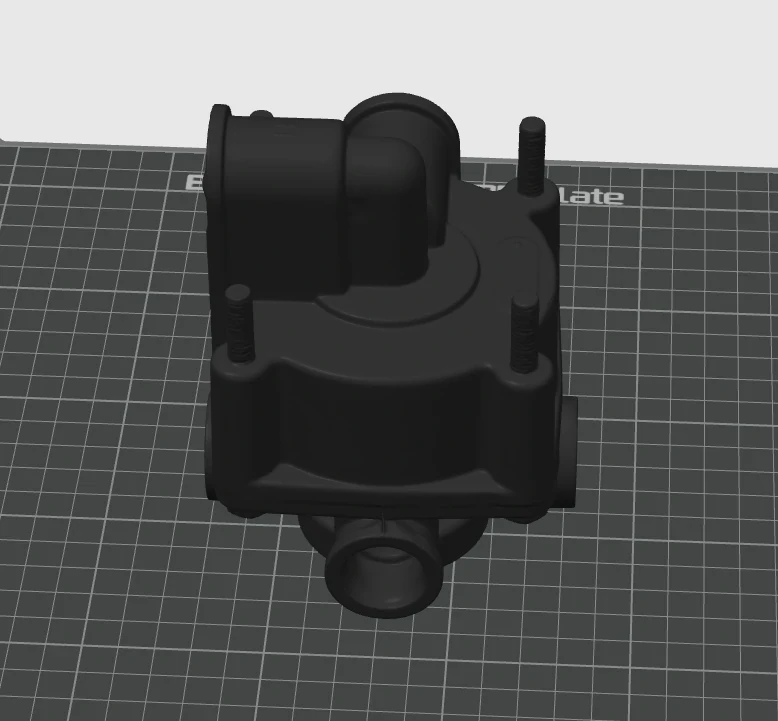
A mesh model is not automatically ready for printing or parametric editing. Mesh cleaning, reconstruction and any design changes follow the product's purpose and manufacturing method.
03 / PROTOTYPING
We prepare the chosen geometry for the next manufacturing step. For 3D printing this is followed by slicing, choosing settings and printing the prototype.
04 / FORM AND REPRODUCTION
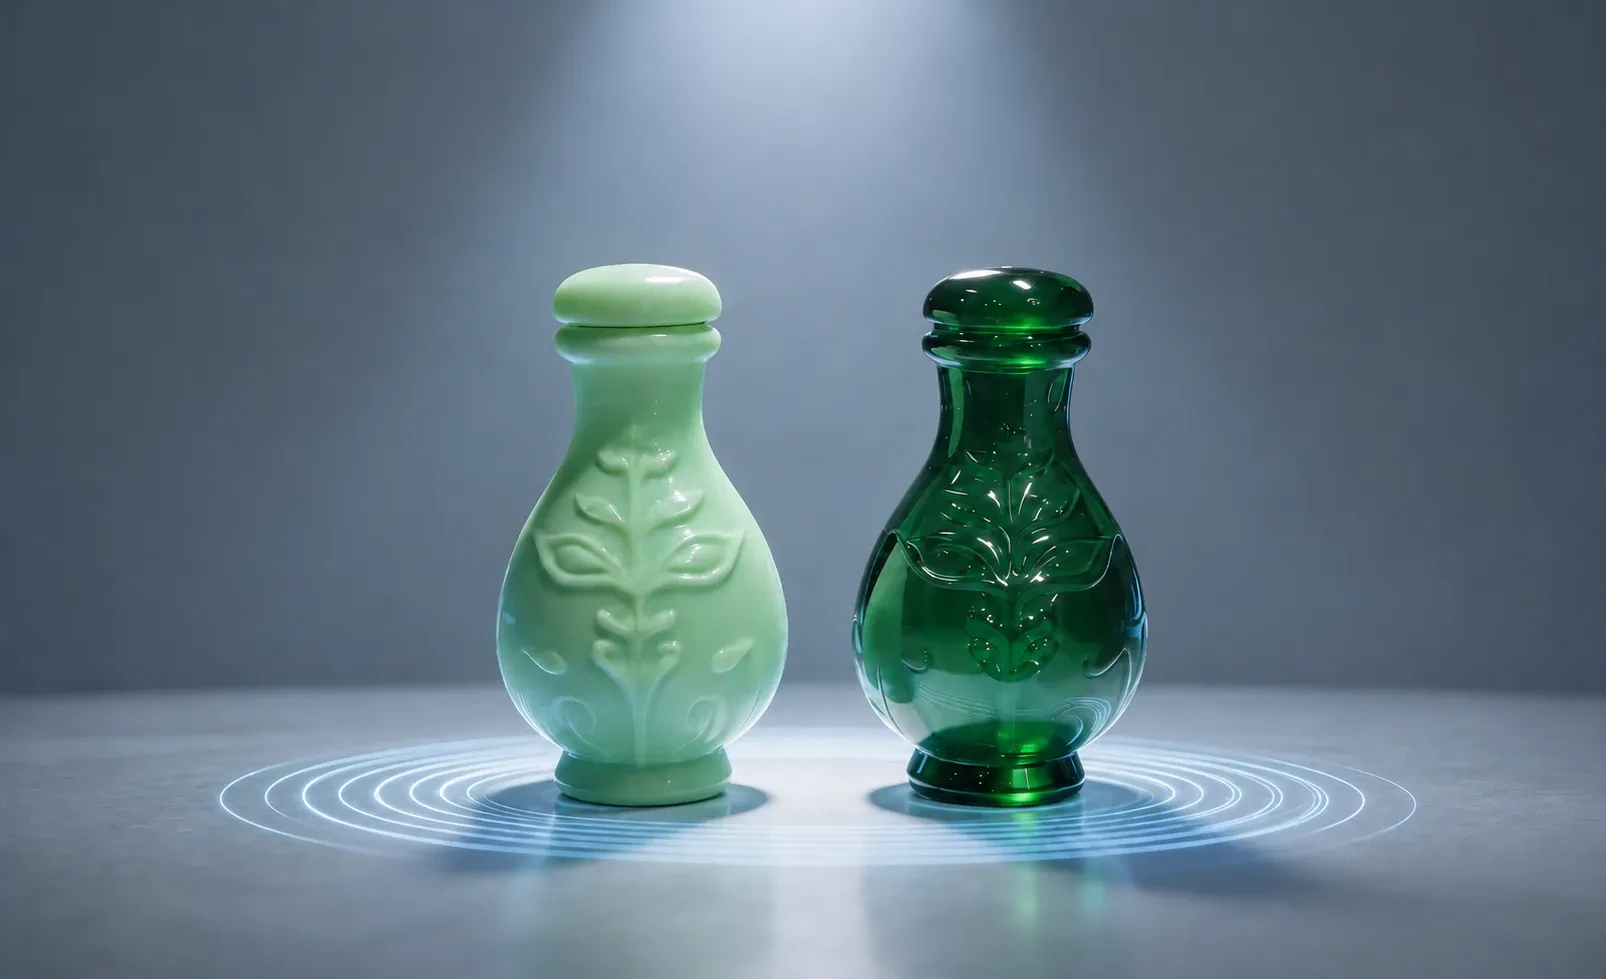
The digital model enables reproduction of a chosen shape and development of new versions. The prototype is then checked for intended fit, form and use.
EXAMPLE TASKS
Capturing the surfaces a new part must fit.
Bringing a physical sample into a digital environment for further design.
Preparing chosen geometry for 3D printing.
WORKFLOW / BASIS FOR CHOICE
A mesh model is not automatically ready for printing or parametric editing. Further processing depends on product requirements and manufacturing method.
Enquiry checklistCapture the physical sample and the surfaces that matter for the new product.
Remove unnecessary data and prepare the mesh model.
Reconstruct and adapt the model in CAD as needed.
Prepare the model for the chosen manufacturing technology.
Make the prototype and check fit and form.
EXPLORE RELATED EQUIPMENT
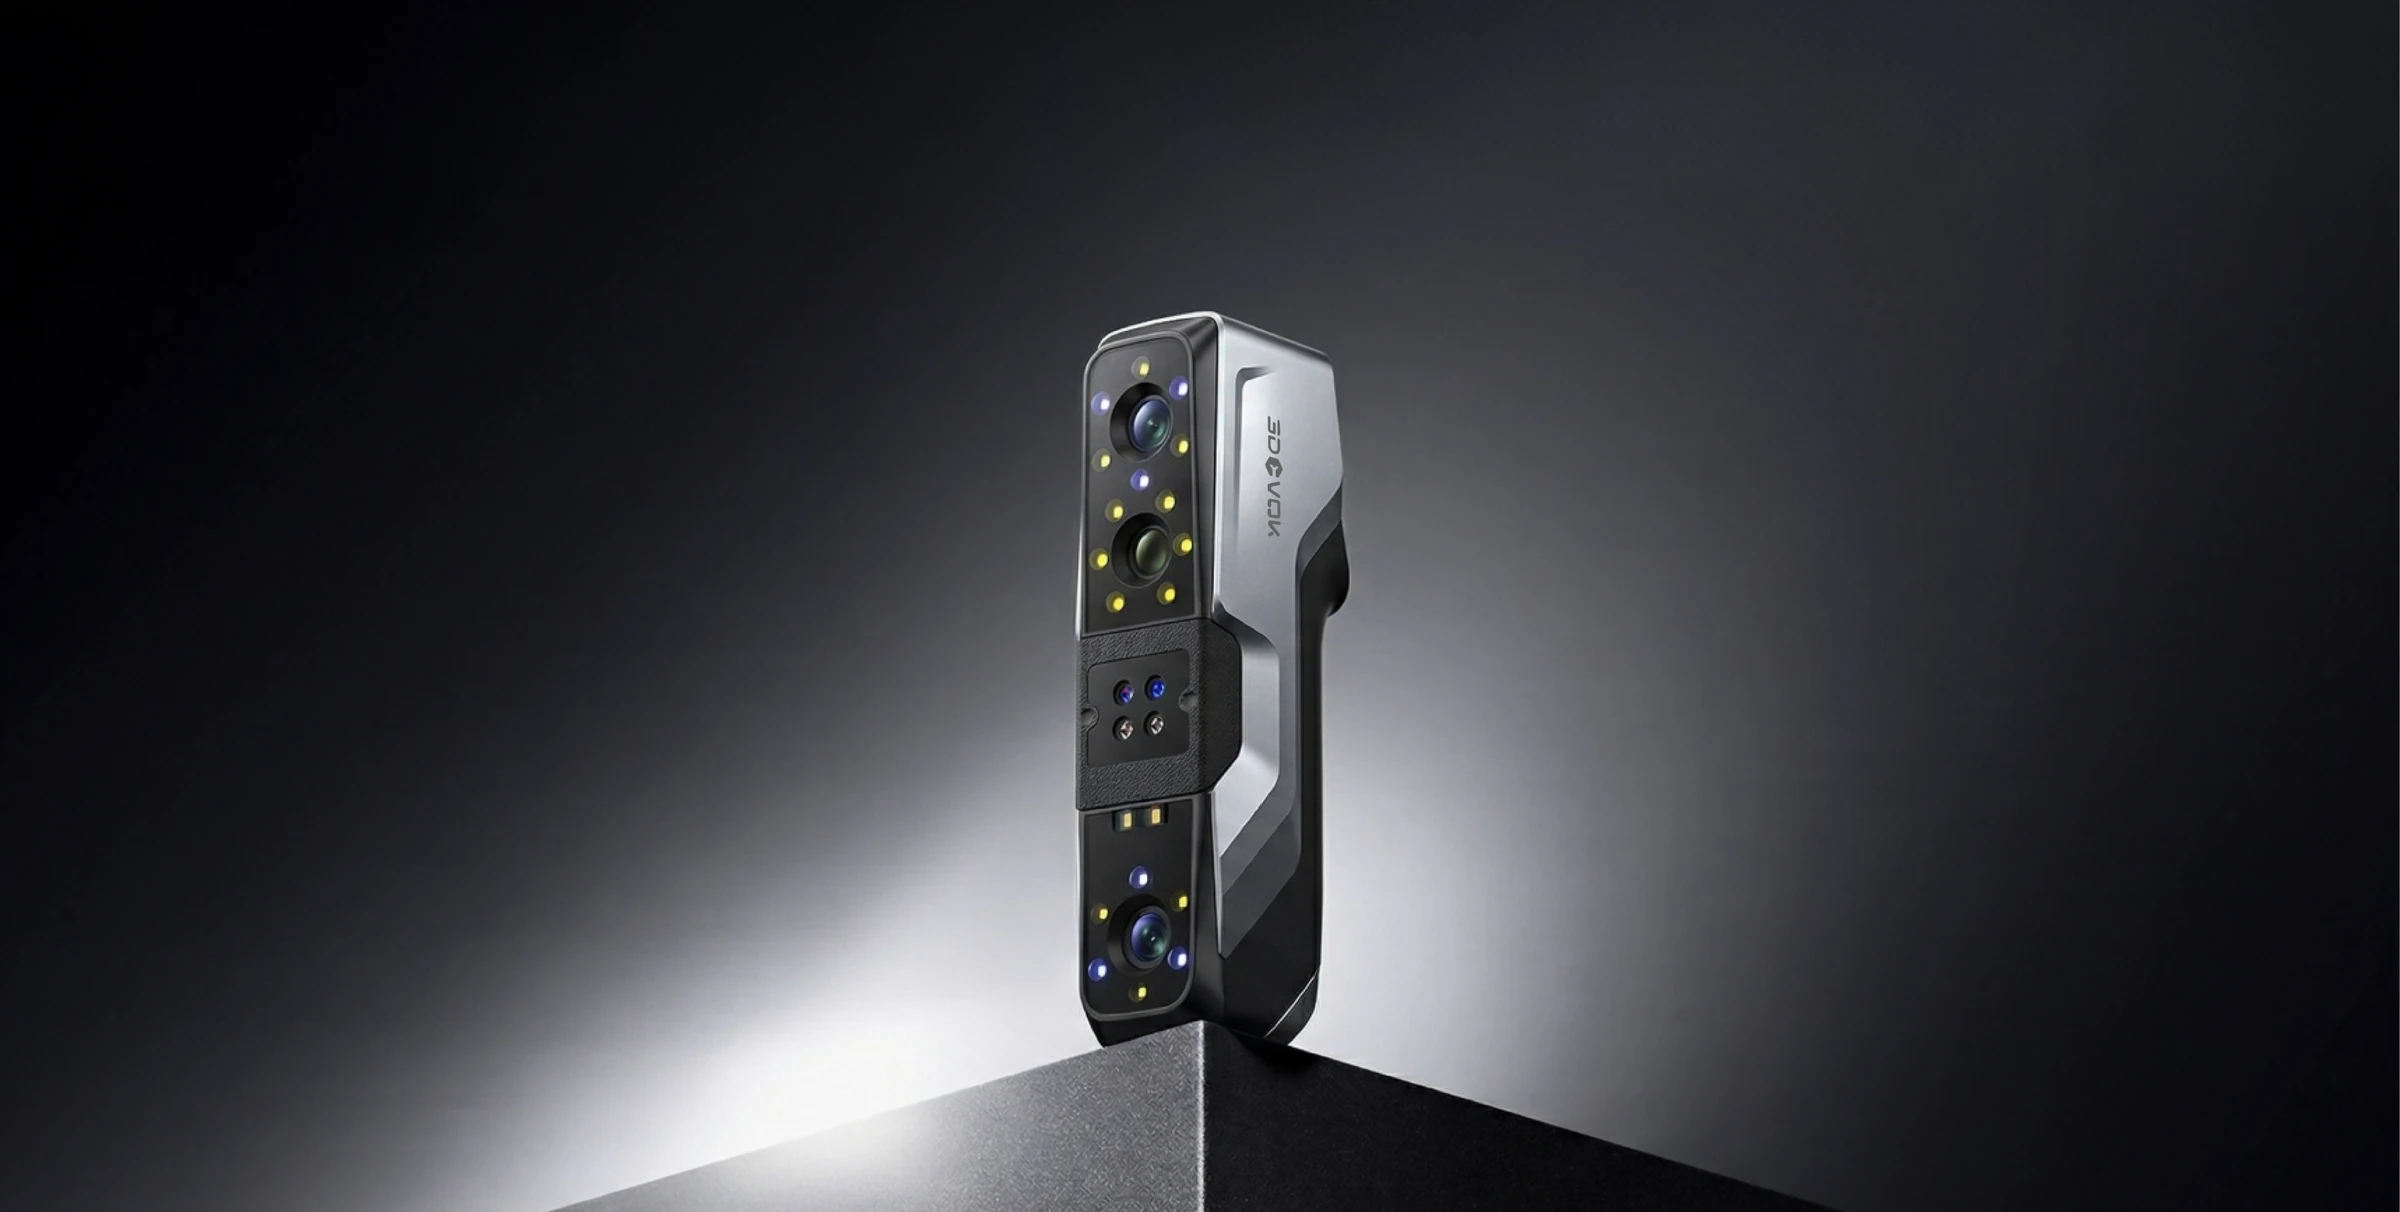
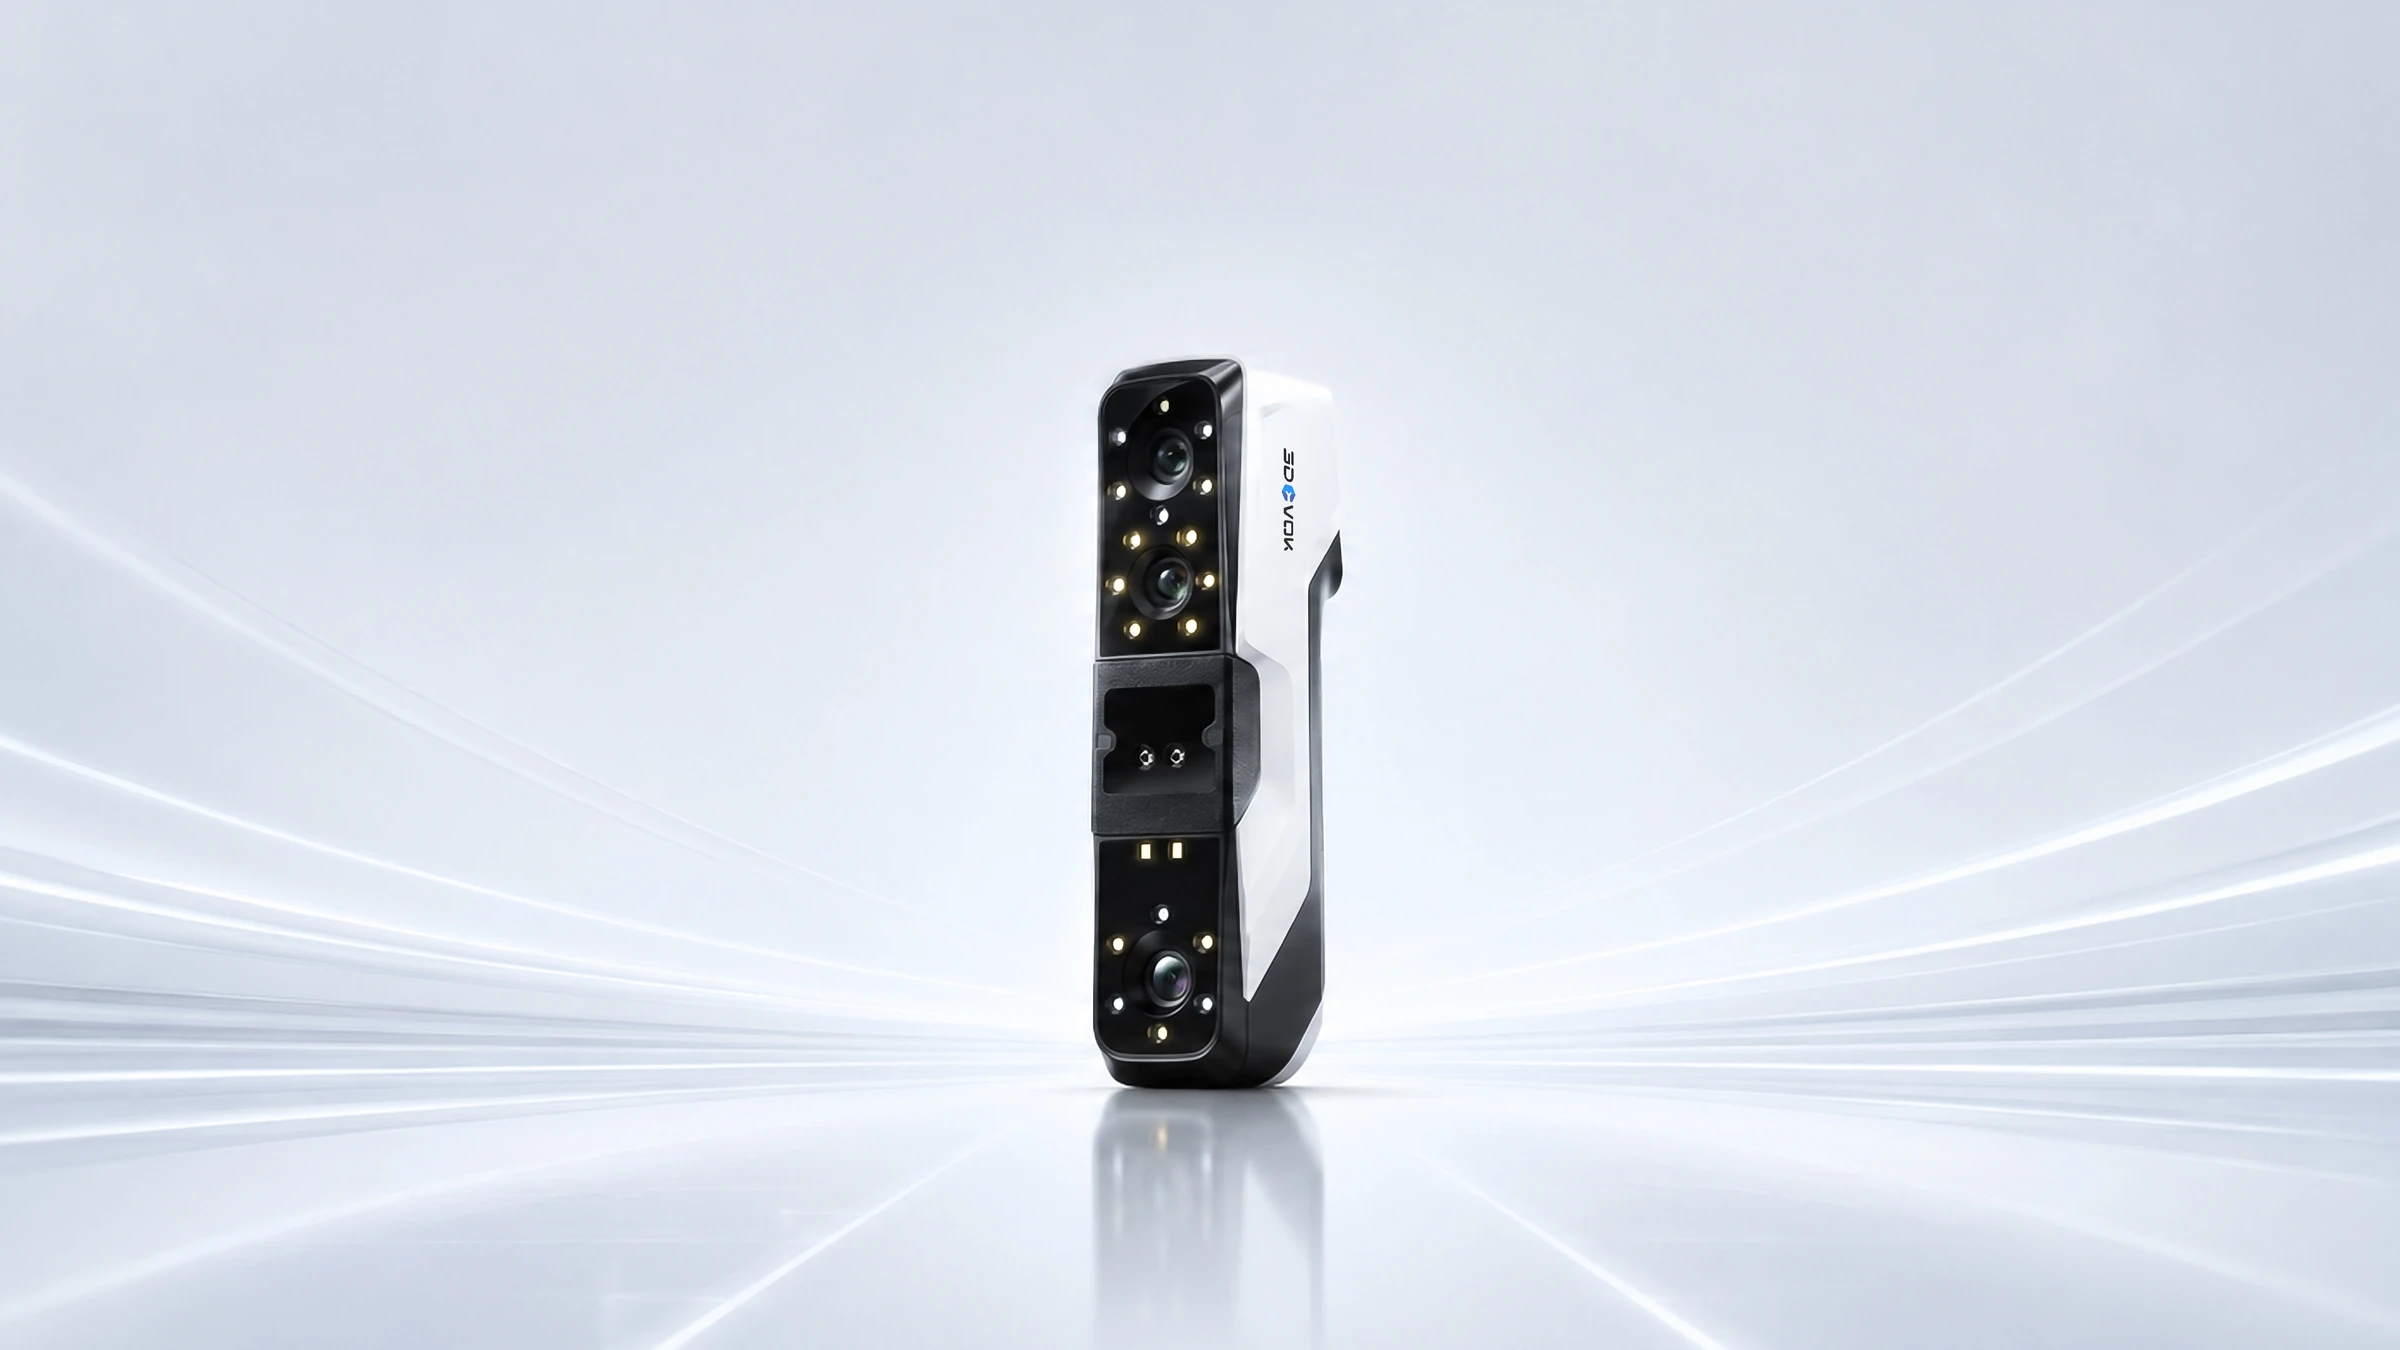
3DeVOK
Four light modes. Details that count.
Explore the product ↗3DeVOK
Three capture modes. More options for your object.
Explore the product ↗3DeVOK
Shape and colour. In one workflow.
Explore the product ↗3D ING / TALK ABOUT YOUR PROJECT
WHAT TO INCLUDE IN YOUR ENQUIRY
Object size, desired changes, intended use, printing technology and expected output format.
What do you want to scan and what result do you need?
Describe the object, its size, material and the intended use of the data. Together we can clarify the basis for choosing equipment.